How-to
How to set up a Cricut Explore
Published
Short answer
Unpack the machine, remove the tape and foam, plug it in and turn it on. Then go to Cricut's setup page, install Cricut Design Space, sign in with a Cricut ID and follow the New Machine Setup, which connects the machine over USB or Bluetooth, registers it and walks you through a first test project. Allow some time for a firmware update on the first connection.
Gear for this job
All 7 picks compared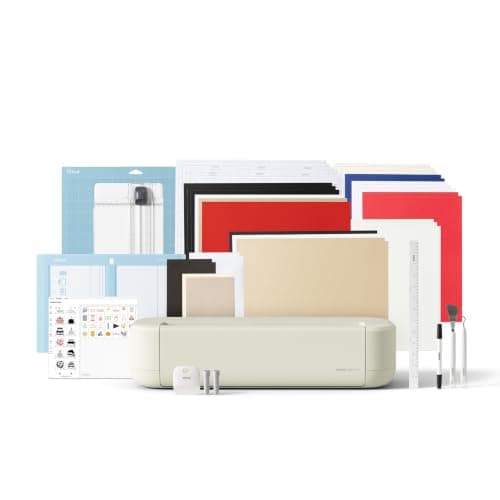
Cricut Explore 5: 12 in cutting for vinyl and cards
See price on AmazonSee it on Amazon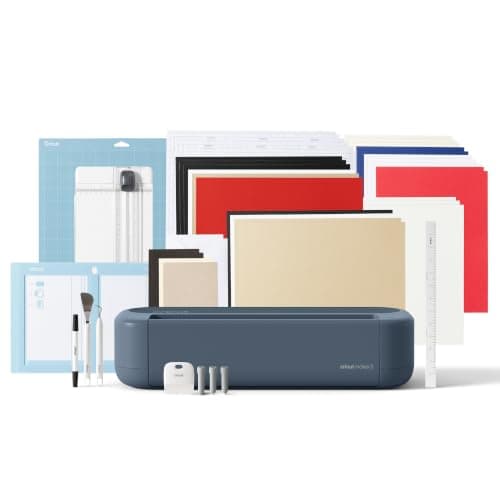
Cricut Maker 5: 3 mm materials and 13 tools
See price on AmazonSee it on Amazon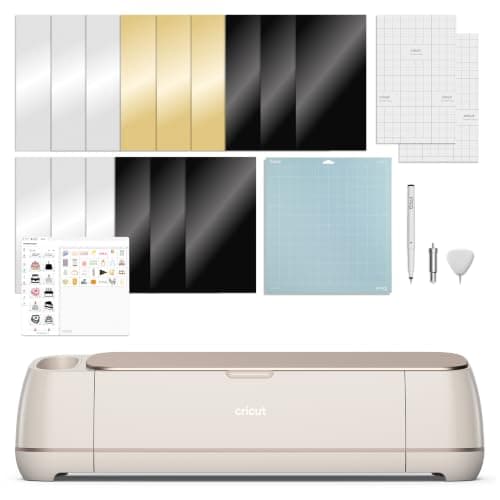
Cricut Maker 4: 300+ materials including leather and wood
See price on AmazonSee it on Amazon
This guide is for anyone opening a new or secondhand Cricut Explore Air 2, Explore 3 or Explore 4 and wanting to get from the box to a clean first cut without guesswork. It covers what to unpack and check, installing Design Space, connecting by USB or Bluetooth, running Cricut's machine setup, loading a mat, and the first test cut. It also covers the main difference between models: the Explore Air 2 has a material dial, while the Explore 3 and 4 pick the material in software and can cut Smart Materials without a mat. If you are not sure which model you have, start with which Cricut machine do I have.
Before you start: what you need
Clear a flat table with room in front of and behind the machine. The mat moves out the back while cutting, so leave roughly a mat length of open space behind it and do not push the machine against a wall.
You need a computer, phone or tablet that meets Cricut's current Design Space requirements, an internet connection for the first setup, and a Cricut ID (you can create one during setup). A desktop or laptop is easiest for the first run because a USB cable takes Bluetooth out of the equation.
- The machine, power adapter and USB cable from the box
- A cutting mat: StandardGrip (green) or LightGrip (blue) is usually included with Explore Air 2
- The fine point blade, which ships installed in clamp B
- The sample materials in the box, or a sheet of cardstock for the first project
- For Explore 3 and 4, a Smart Material sample if you want to try matless cutting
Step 1: unbox and prepare the machine
- 1
Lift the machine out and remove all tape, foam and the cardboard insert inside the carriage area. Open the lid and check under it.
- 2
Check that the fine point blade housing is seated in clamp B and that the clamp is closed. The housing should sit fully down with the clamp snapped shut.
- 3
Check that clamp A (the accessory clamp on the left) has nothing loose in it. This is where pens and the scoring stylus go later.
- 4
Connect the power adapter to the machine and the wall, then press the power button. The power light comes on and the machine is ready to pair or connect.
Note.Do not move the carriage by hand while the machine is on. If something blocks it, power the machine off first.
Step 2: install Design Space and sign in
Go to Cricut's setup page (cricut.com/setup) on your computer and download Cricut Design Space for Windows or Mac. On a phone or tablet, install the Design Space app from the App Store or Google Play. Open the program and sign in with your Cricut ID, or create one.
Design Space is free. Cricut Access is an optional subscription for fonts and images; you do not need it to cut your own files. Our page on whether you need Cricut Access covers what it adds.
Step 3: connect by USB or Bluetooth
USB is the simplest first connection on a computer. Plug the cable from the machine into the computer, then continue in Design Space. Use a port directly on the computer rather than a hub if the machine is not found.
Bluetooth is what you use with a phone or tablet. The Explore Air 2, Explore 3 and Explore 4 have Bluetooth built in; there is no separate pairing button, the machine is discoverable once it is on. On a computer, open the Bluetooth settings, choose to add a device, select the Cricut from the list and enter the PIN 0000 if it asks for one. Keep the machine close to the device during pairing. If it will not pair, see Cricut not connecting.
Step 4: run New Machine Setup
In Design Space, open the menu and choose New Machine Setup (the wording can change between versions), then pick Smart Cutting Machine and your Explore model. Design Space finds the machine, checks the firmware and installs an update if one is available. Do not switch the machine off or unplug it during a firmware update.
Setup then registers the machine to your Cricut ID and offers a first project, often a simple card or a small cut from the included sample. Registration is required before the machine will cut, so finish this step even if you plan to skip the sample project.
Note.If you bought the machine secondhand, it may still be registered to the previous owner's account. Registration is tied to the machine for warranty purposes, but setup normally works on a new account. Contact Cricut Member Care if setup refuses to complete.
Step 5: load the mat and make the test cut
Peel the clear cover off the mat and keep it for storage. Press your material onto the mat with the top left corner lined up with the top left of the grid, smooth it down with a scraper or your hand, and slide the mat under the guides so it rests against the rollers. Press the load button (the double arrow). The rollers pull the mat in.
On an Explore Air 2, turn the Smart Set dial to the material you loaded, for example Cardstock or Vinyl, or to Custom to pick the material in Design Space. On an Explore 3 or 4 there is no dial: you choose the material on the Make screen in Design Space.
Press the flashing Go button. When the cut finishes, unload the mat with the load button, then bend the mat away from the material rather than pulling the material off the mat, which keeps paper flat. For the right blade and mat by material, use our cut settings finder.
Matless cutting on Explore 3 and Explore 4
The Explore 3 and Explore 4 can cut Cricut Smart Materials (Smart Vinyl, Smart Iron-On, Smart Paper Sticker Cardstock) without a mat. Smart Materials have a stiff backing that the rollers can grip. In Design Space choose Without Mat on the Prepare screen, then feed the material straight under the guides and press load.
Regular vinyl and iron-on on a thin liner still need a mat on every Explore model. The Explore Air 2 always needs a mat. If you plan to cut long vinyl lettering often, Smart Materials save time; the guide to vinyl types for cutting machines explains the difference.
What to do after the first cut
Keep a scrap of each material you buy and run a small test shape before every new project. Cricut presets are a starting point and different brands of vinyl or cardstock cut differently. If cuts do not go through, our fix guide for Cricut not cutting through vinyl covers blade, pressure and mat checks.
Next steps for most new owners: learn which Cricut mat to use, read the Cricut blades explained page before buying extra blades, and try iron-on with our iron-on vinyl guide. If you are still choosing a machine, our best Cricut machines guide compares the current Explore, Maker and Joy lineup.
Frequently asked questions
Do I need a computer to set up a Cricut Explore? No. You can set up an Explore Air 2, Explore 3 or Explore 4 from the Design Space app on a phone or tablet over Bluetooth. A computer with a USB cable is often easier for the first setup because it avoids pairing problems.
Why does my Explore Air 2 not have a material dial setting I need? Turn the Smart Set dial to Custom. Design Space then shows the full material list on the Make screen, and you pick the exact material there.
Can I use my Explore without registering it? No. Design Space asks you to complete New Machine Setup, which includes registration, before the machine will cut.
Which blade comes with the Cricut Explore? The fine point blade, already installed in clamp B. It cuts vinyl, iron-on, paper and cardstock. The deep point blade and bonded fabric blade are sold separately.
What you need for this
- See price on AmazonAmazon
Cricut Explore 5: scores and writes, 12 in width
From Best Cricut machines, from Joy 2 and Joy Xtra to Maker 5
 See price on AmazonAmazon
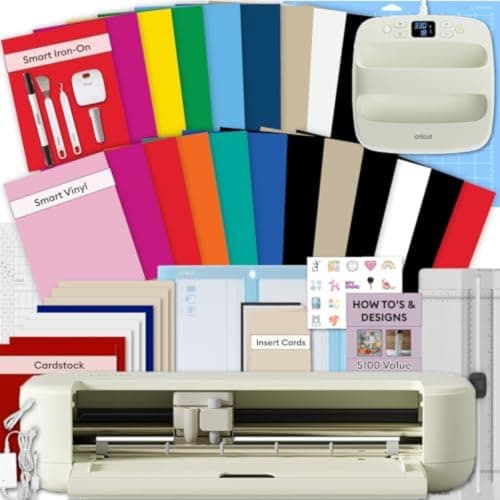
Explore 5 Essential Bundle + EasyPress 9x9
From Best Cricut bundles worth buying, with and without a heat press