Fix
Cricut not cutting through vinyl
Published
Short answer
Most often the wrong material is selected, the blade is dirty or worn, or the blade housing is not seated in clamp B. Check the material setting (and the Smart Set dial on an Explore Air 2), clean or replace the fine point blade, make sure the vinyl is the right side up on a sticky mat, then run a test cut with More pressure. If the backing is cut through instead, choose a lighter setting or use Less pressure.
Gear for this job
All 6 picks compared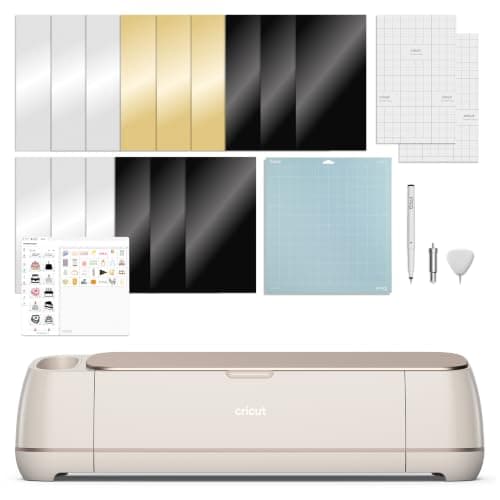
Cricut Maker 4: matless vinyl in the sampler
See price on AmazonSee it on Amazon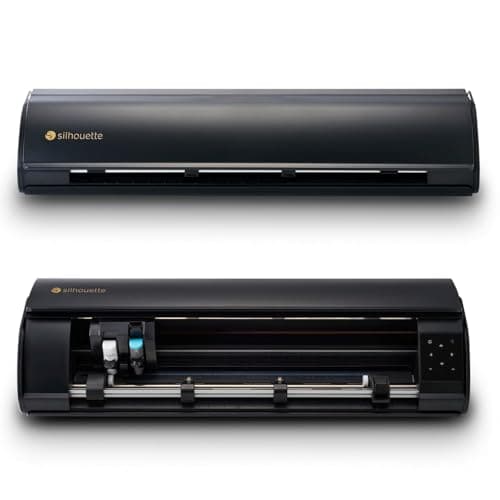
Silhouette Cameo 5 Alpha Plus: 15 in, AutoBlade
See price on AmazonSee it on Amazon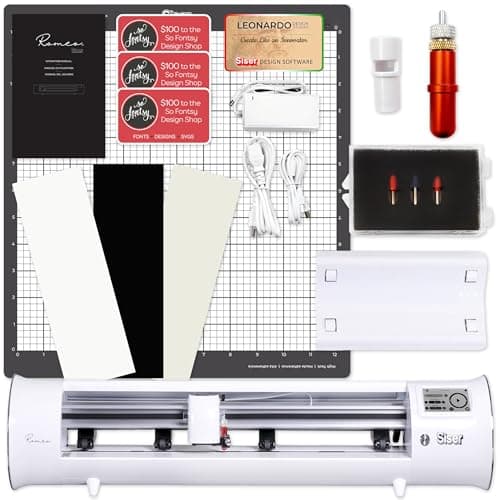
Siser Romeo 24 in: roll feeder, 45 and 60 degree blades
See price on AmazonSee it on Amazon
Vinyl that will not weed, letters that tear, or a cut that goes through on one side and not the other: these are the most common Cricut complaints, and nearly all of them come from a short list of causes. This page is for Explore and Maker owners and works through the checks in order, starting with the free and fast ones. It also covers the opposite problem, cutting through the backing. If your Cricut does not cut at all and the carriage only moves, the blade may be missing or the wrong tool may be selected; that is covered too. Cricut Joy owners can use most of these steps; see also Cricut Joy not working.
Causes in order of likelihood
| Cause | Signs | Fix |
|---|---|---|
| Wrong material setting or dial position | Cut is light everywhere | Choose the exact vinyl type; on Air 2 set the dial to Vinyl or Custom |
| Vinyl upside down | Liner is cut, vinyl is not; or nothing weeds | Adhesive vinyl color side up; iron-on shiny side down |
| Dirty or dull blade | Torn corners, missed spots, ragged small text | Clean the blade; replace it if needed |
| Blade housing not seated | Shallow or uneven cut | Remove and reseat the housing, close clamp B fully |
| Mat lost grip | Vinyl shifts, cut is doubled or uneven | Clean or replace the mat |
| Pressure too low for this vinyl | Most of the cut works, a few spots do not | Use More pressure or a heavier setting |
| Glitter or specialty vinyl | Thick film resists the fine point | Pick the specialty setting and add pressure |
Step 1: check the material setting
Cricut presets differ a lot between materials. If you cut vinyl on a paper setting, the blade will not press hard enough. On the Make screen in Design Space, pick the material that matches yours exactly, such as Premium Vinyl, Permanent Vinyl or Everyday Iron-On. Use Browse All Materials if it is not in the popular list.
On an Explore Air 2, the Smart Set dial overrides the software. Turn it to Vinyl or Iron-On, or to Custom so Design Space uses the material you chose. A dial left on Paper is a common cause of shallow cuts.
Step 2: check the vinyl orientation
Adhesive vinyl goes on the mat with the colored side up and the paper liner down. Iron-on vinyl goes the opposite way: shiny clear carrier down, dull adhesive side up, and the design mirrored. If iron-on is face up, the blade cuts into the thick carrier and barely touches the vinyl.
Smart Vinyl and Smart Iron-On on an Explore 3, Explore 4, Maker 3 or Maker 4 can go in without a mat. Regular vinyl needs a mat on every machine.
Step 3: clean and reseat the blade
- 1
Open clamp B and lift out the blade housing.
- 2
Press the plunger on top of the housing to push the blade out. Look for vinyl bits or adhesive stuck around the tip and inside the housing.
- 3
Clean off debris carefully. A common method is to press the blade tip gently into a loose ball of aluminum foil a few times, which removes residue.
- 4
Put the housing back so it sits fully down, then close clamp B until it clicks.
- 5
Check that you are using the fine point blade for vinyl. The deep point blade (black housing) is for thicker materials.
Note.Fine point blades wear out. If cleaning does not help, especially on small text and corners, replace the blade before changing any other setting.
Step 4: check the mat and loading
Vinyl that slides on the mat cuts unevenly. The mat should grip the vinyl firmly enough that it does not shift when you run a finger across it. A dusty or worn mat is a common cause of cuts that work on one side but not the other. See Cricut mat not sticky for cleaning.
Load the mat straight, with its left edge under the guides, and make sure the white star wheels on the roller bar are not riding on the vinyl in a way that lifts it. If the mat feeds crooked, see Cricut Maker roller not feeding.
Step 5: add pressure and test
Once setting, blade and mat are right, adjust pressure. On the Make screen, set pressure to More and cut a small test shape, such as a one inch star, in a corner. Weed it. If it lifts cleanly and the liner is only lightly scored, cut the full design. If it still does not cut through, pick a heavier vinyl setting or, if you use the Custom material list, edit the material and raise the pressure a little.
Brands differ. A setting that works for one vinyl can be too light for another, especially metallic, holographic and glitter films. Keep notes of what worked. Our cut settings finder and the Cricut cut settings chart give starting points by material.
When it cuts too deep instead
If the blade cuts through the liner, weeding tears the backing and transfer tape pulls up loose pieces. Choose a lighter material setting or set pressure to Less. Check that the blade is the fine point and not the deep point, and that the vinyl is not upside down. A new blade can cut slightly deeper than an old one, so a setting tuned with a worn blade may be too much after a replacement.
When nothing cuts at all
If the carriage moves but leaves no cut, check that there is a blade in clamp B and that the tip is not snapped off. Check that the operation in Design Space is a cut, not a draw or score. If the machine will not start or keeps stopping, see Cricut not connecting and update the firmware.
If an older machine still struggles after a new blade and mat, it may be time to upgrade. Our guide to the best cutting machines for vinyl decals and the best Cricut machines cover current options.
Frequently asked questions
Why is my Cricut Explore Air 2 not cutting? Check the Smart Set dial first. If it is on Paper or the wrong material, the cut is too light. Set it to Vinyl or Custom, clean the blade and reseat it in clamp B.
Why does my Cricut cut some letters but not others? Usually the mat has lost grip in one area, the vinyl is not flat, or the blade is dull and fails on small details. Clean the mat, smooth the vinyl down and replace the blade if needed.
Should I cut vinyl twice? You can press Go again before unloading the mat to repeat the cut, which helps in a pinch. It is better to fix the setting, blade or mat so one pass cuts cleanly.
How do I know if my Cricut blade is dull? Small text tears, corners stay attached, and you need more pressure than before for the same vinyl. A clean, well seated blade that still does this needs replacing.
What you need for this
- See price on AmazonAmazon
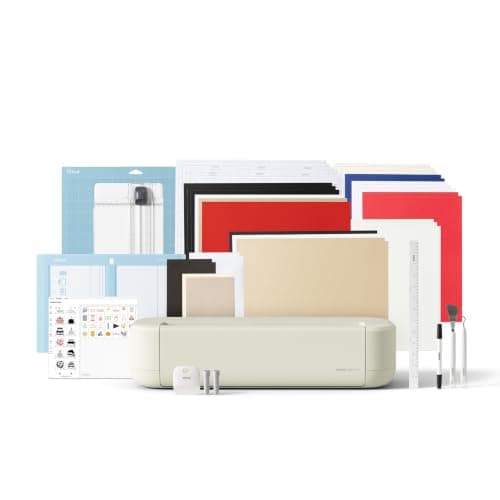
Cricut Maker 4: leather and wood, engraves and debosses
 See price on AmazonAmazon
Cricut Explore 5: scores and writes, 12 in width
From Best Cricut machines, from Joy 2 and Joy Xtra to Maker 5