How-to
How to apply iron-on vinyl to a shirt
Published
Short answer
Mirror the design, cut the iron-on shiny side down, and weed away the extra vinyl. Pre-press the shirt to remove moisture, place the design shiny side up, and press at the temperature, time and pressure the vinyl maker lists. Cricut lists 315 F for 30 seconds with firm pressure for Everyday Iron-On on 100 percent cotton with an EasyPress 2, and a cool peel. Siser EasyWeed is 305 F for 10 to 15 seconds on a heat press with hot or cold peel.
Gear for this job
All 7 picks compared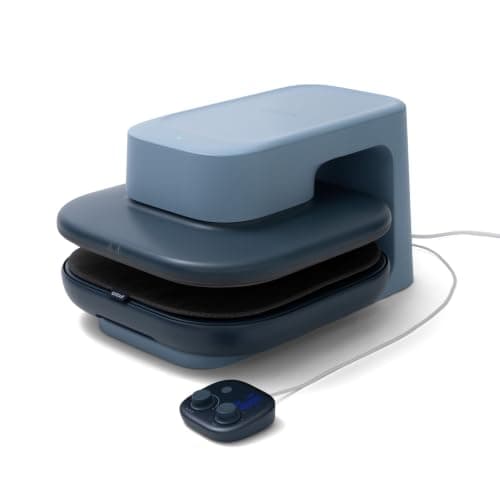
Cricut AutoPress 2: 15x15, 220 lb auto pressure
See price on AmazonSee it on Amazon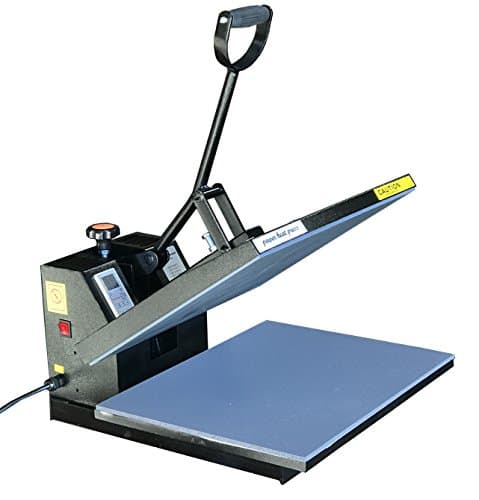
Fancierstudio 16x20 clamshell: larger plate, 1800W
See price on AmazonSee it on Amazon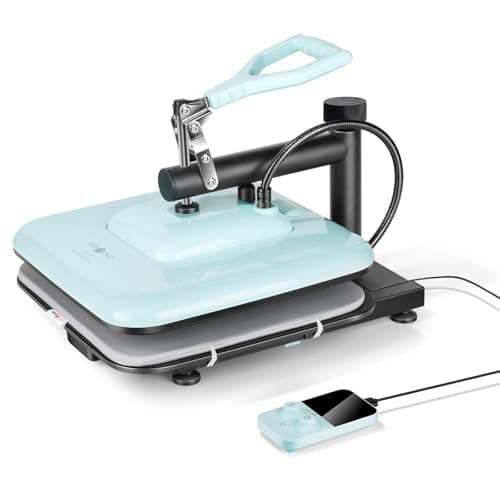
HTVRONT 15x15 swing-away press: 104 to 410°F
See price on AmazonSee it on Amazon
Iron-on vinyl, also called heat transfer vinyl or HTV, is the most common way crafters put designs on T-shirts, totes and hoodies. This guide is for Cricut, Silhouette and plotter owners pressing with an EasyPress, a clamshell or swing-away press, or a household iron. It covers the cut settings that matter for iron-on, weeding, pre-pressing, pressing, the peel, and the mistakes that cause lifting and peeling after washing. Pressing numbers here come from Cricut's Heat Guide and Siser's application instructions; for other brands, follow the label on the roll. Our heat press settings tool has the same figures in a quick lookup.
Step 1: mirror and cut
Iron-on vinyl is cut from the back. The adhesive faces up on the mat and the shiny clear carrier faces down, so the design must be mirrored or the text comes out backward on the shirt. In Cricut Design Space, turn on the Mirror toggle for each mat on the Prepare screen. In Silhouette Studio, use the mirror option in the Send panel or flip the design before sending.
Place the iron-on shiny side down on a StandardGrip mat, choose the matching iron-on material and cut. Plain iron-on uses the fine point blade; glitter iron-on may need more pressure. Run a small test cut on new rolls. For machine and material specifics, use the cut settings finder.
Note.If the carrier is face up on the mat, the blade cuts the carrier instead of the vinyl and the design will not weed. Shiny side down every time.
Step 2: weed the design
Peel away the vinyl you do not want, leaving the design on the clear carrier. Start at a corner and use a weeding hook for the centers of letters such as a, e and o. Weeding is easier with a weed box: a cut rectangle around the design that gives you a clean edge to start from.
Check the design against light before pressing. Tiny pieces left inside letters will press onto the shirt. If weeding pulls the design off the carrier, the cut may be going too deep or not deep enough; see Cricut not cutting through vinyl.
Step 3: prepare the shirt
Place the shirt on a firm, heat resistant surface: an EasyPress mat, the platen of a heat press, or a folded towel on a hard table for an iron. Ironing boards are too soft and flexible for good adhesion.
Pre-press the shirt to remove moisture and wrinkles. Cricut lists a 5 second preheat for cotton with Everyday Iron-On; Siser lists a 2 to 3 second pre-press for EasyWeed. Moisture trapped in the fabric is a common cause of designs that peel later.
Position the design. A common starting point on an adult shirt is a few finger widths below the collar, centered. Our shirt decal size chart lists typical sizes and placements.
Step 4: press with the right settings
Place the design with the shiny carrier facing up. Cover it with a protective sheet or parchment if the vinyl maker asks for one. Press with the settings for your vinyl, blank and press. These are the published settings for two common products; if the label on your roll differs, the label wins.
| Vinyl and blank | Press | Temperature | Time | Pressure | Peel |
|---|---|---|---|---|---|
| Cricut Everyday Iron-On on 100% cotton | Cricut EasyPress 2 | 315 F (155 C) | 30 seconds | Firm | Cool |
| Siser EasyWeed on cotton, polyester or blends | Heat press | 305 F (150 C) | 10 to 15 seconds | Medium | Hot or cold |
| Siser Glitter | Heat press | 320 F (160 C) | 15 to 20 seconds | Medium | Warm, at least 15 seconds off the press |
- EasyPress: hold it still with firm, even pressure for the full time. Do not slide it like an iron.
- Clamshell or swing-away: set the pressure so the press closes firmly; most presses have a knob for this.
- Siser and EasyPress: Siser asks Cricut EasyPress users to add about 30 degrees to its listed temperature.
- Household iron: turn off steam and press section by section with firm pressure. Results vary because irons do not hold an even temperature. For other vinyls on an iron, start with the maker's preset and run a test on a scrap.
Step 5: peel the carrier
Hot peel, warm peel and cool peel are part of the instructions, not a preference. Cricut Everyday Iron-On is a cool peel: wait until the carrier is cool to the touch, then remove it slowly. Siser EasyWeed can be peeled hot or cold. Siser Glitter is a warm peel.
Peel at a low angle. If a part of the design lifts with the carrier, lay the carrier back down and press again for a few seconds. Siser suggests covering and re-pressing lifted areas for 5 to 10 seconds.
Why iron-on lifts or peels
Cricut asks you to wait 24 hours before washing a pressed Everyday Iron-On project. Turning the shirt inside out and avoiding very hot dryer cycles also helps designs last.
| Problem | Likely cause | Fix |
|---|---|---|
| Edges lift right after pressing | Too little pressure or time, soft surface | Press on a firm surface and repress |
| Design peels after washing | Skipped pre-press, low heat, or washed too soon | Pre-press, follow the label, wait before washing |
| Carrier will not release | Peeled at the wrong temperature | Check hot, warm or cool peel on the label |
| Vinyl melted or shiny | Temperature too high or no cover sheet | Lower heat to the label setting, use a cover sheet |
| Text is backward | Design not mirrored | Mirror before cutting |
Choosing a press
A household iron works for occasional shirts, but a press gives even heat and pressure. Our guide to the best heat presses for T-shirts compares handheld and clamshell options, and EasyPress vs clamshell heat press explains the trade-offs. See also do you need a heat press for Cricut and the Cricut heat press temperature guide.
Frequently asked questions
Is Cricut iron-on vinyl hot or cold peel? Cricut Everyday Iron-On is a cool peel: let it cool to the touch, then remove the carrier slowly. Other Cricut iron-on types can differ, so check the Cricut Heat Guide for your exact material.
How long do you heat press Cricut iron-on vinyl? Cricut's Heat Guide lists 30 seconds at 315 F with firm pressure for Everyday Iron-On on 100 percent cotton using an EasyPress 2, after a 5 second preheat of the fabric.
Which side of iron-on vinyl goes down on the Cricut mat? The shiny carrier side goes down, the dull adhesive side up. Always mirror the design.
Can I layer iron-on vinyl? Yes, with compatible vinyls. Press each layer briefly to tack it, remove the carrier, then add the next layer and give the full press at the end. Check the vinyl maker's instructions for layering.
What you need for this
- See price on AmazonAmazon
Cricut AutoPress 2 15x15: 220 lbs, 410°F, Bluetooth
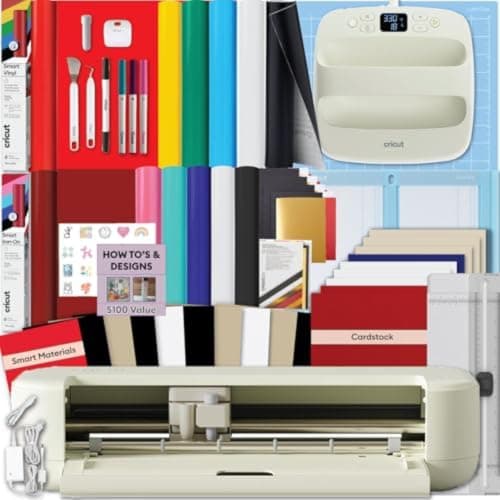 See price on AmazonAmazon
Cricut Explore 5 + EasyPress 9x9: 12 in cutter and press
From Best cutting machines for making T-shirts with iron-on and HTV