How-to
How to calibrate a Cricut for print then cut
Published
Short answer
In Design Space open the menu, choose Calibration, then pick Print Then Cut (or Knife Blade or Rotary Blade on a Maker). Print the sheet at full size, put it on a LightGrip mat, load it and let the machine scan the marks and cut. Then pick the line that is closest to centered, repeat the check, and continue until the cut sits on the line. Most failures to read the sheet come from scaled printing, glare or a dirty sensor.
Gear for this job
All 7 picks compared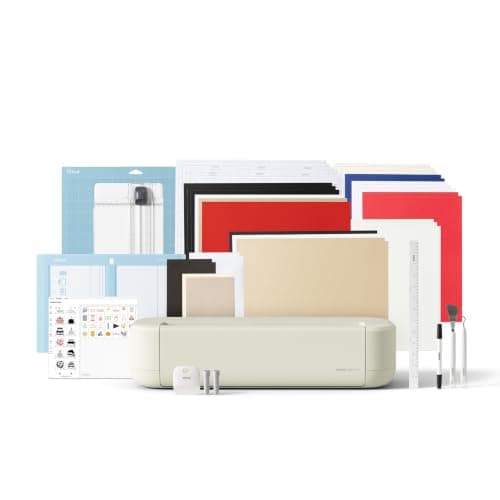
Cricut Explore 5 Essential Bundle: print then cut, 12 in
See price on AmazonSee it on Amazon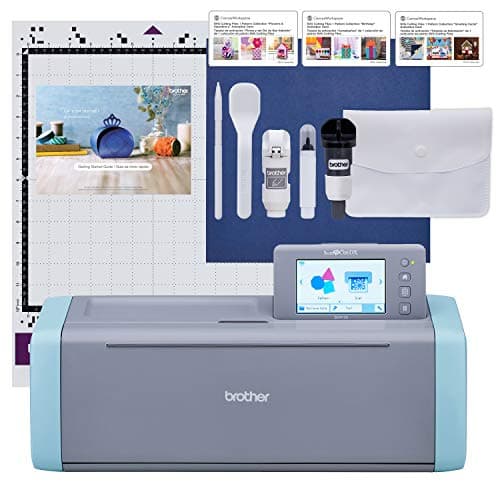
Brother SDX125E: scanner cuts printed stickers directly
See price on AmazonSee it on Amazon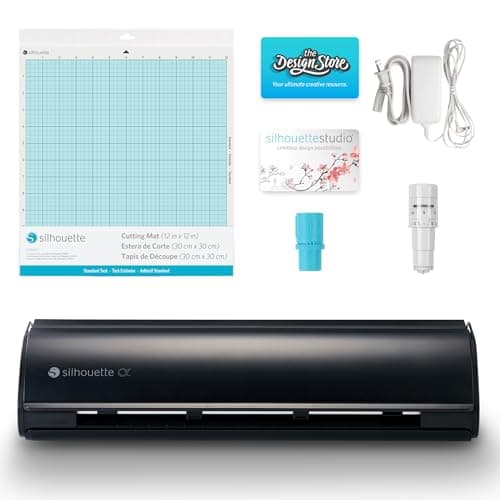
Silhouette Cameo 5 Alpha: 4-point registration
See price on AmazonSee it on Amazon
Calibration is how a Cricut learns the small offsets of its own sensor and blades. You only need it when cuts land slightly off target: print then cut stickers with a white edge on one side, or knife blade and rotary blade pieces that do not line up with what Design Space shows. This guide covers the three calibrations Design Space offers on the Maker and Explore families, when to run each one, and what to check when the machine will not read the calibration sheet. If you make stickers, read how to make stickers with a Cricut after this.
Which calibration you need
You do not need to calibrate the fine point blade. If plain vinyl cuts are off, the cause is usually loading, the mat or the design position on the mat, not calibration. See Cricut moves my design for that problem.
| Calibration | Machines | Run it when |
|---|---|---|
| Print Then Cut | Explore Air 2, Explore 3 and 4, Maker family, Joy Xtra | Printed images are cut off-center, or after a sensor complaint |
| Knife Blade | Maker family | Before the first knife blade project, and after replacing the knife blade or its drive housing |
| Rotary Blade | Maker family | Fabric pieces cut off the drawn lines, or after replacing the rotary blade housing |
How to run the print then cut calibration
- 1
Open Design Space, open the main menu and choose Calibration. Select your machine if asked, then choose Print Then Cut.
- 2
Print the calibration sheet on plain white letter paper. In the print dialog, turn off any scale to fit or fit to page option so the sheet prints at 100 percent. Turn on Use System Dialog if you need to find that setting.
- 3
Place the printed sheet on a LightGrip (blue) mat at the top left corner of the grid and smooth it flat.
- 4
Load the mat and press Go. The machine scans the registration marks and cuts a box around the print.
- 5
Without unloading the mat, check whether the cut line touches the printed line all the way around. Answer the prompt in Design Space.
- 6
The machine then cuts a series of numbered lines. Pick the number where the cut is closest to the center of the printed line on each axis, then continue.
- 7
Design Space runs a final check cut. If it is centered, finish. If not, repeat the process.
Knife blade and rotary blade calibration on a Maker
The knife blade calibration uses a sheet of copy paper on a mat. Install the knife blade in clamp B, choose Calibration and then Knife Blade, and follow the prompts. The machine cuts test shapes and you pick the best aligned one, the same idea as print then cut. Cricut also asks you to run this after installing a new knife blade drive housing.
The rotary blade calibration also uses copy paper. Install the rotary blade, choose Rotary Blade in the Calibration menu and pick the most centered cut. It mainly matters for fabric pieces where seam allowances are drawn with a pen and then cut.
For knife blade cutting in general, use a StrongGrip (purple) mat, tape the material on all four edges and move the white star wheels to the right. Our how to cut wood with a Cricut page covers the full process.
Why a Cricut will not read the calibration sheet
When the machine scans and then reports that it cannot read the marks, work through these causes in order. They are the same causes that stop regular print then cut projects.
- Scaled print: if the printer shrank the page, the marks are not where the machine expects. Reprint at 100 percent with fit to page off.
- Glare and light: direct sunlight or a bright lamp shining into the machine can confuse the sensor. Close blinds or move the lamp, and try with the lid area shaded.
- Glossy paper: the calibration sheet should be plain matte white paper. Glossy surfaces reflect light back at the sensor.
- Weak or wrong-colored marks: low ink or a draft print mode makes the black marks faint. Print in normal quality with black ink.
- Paper position: the sheet must sit at the top left of the grid, flat, with no curl at the corners.
- Dirty sensor: the sensor is a small window on the underside of the carriage. With the machine off, check it for dust or paper fibers and clean gently with a dry soft brush or cloth.
- Machine or Design Space out of date: update Design Space and the firmware, then try again.
When print then cut is still off after calibration
If calibration completes but stickers still have a white sliver on one side, first confirm you are printing at 100 percent every time, not only for the calibration sheet. Then add bleed in the print setup so small misalignments are hidden by the extra color around each image.
Check that the printer feeds paper straight. A printer that skews the page slightly will throw off the cut no matter how well the Cricut is calibrated. Use the rear or straight-path feed if your printer has one, and do not overload the tray.
Size matters too. Print then cut has a maximum print area that is smaller than the paper, and that area differs between machines. Our print then cut size limits page covers it.
How often to calibrate
Calibration is not routine maintenance. Run it once when you start using a feature, again after you replace a blade housing or move to a new machine, and again any time cuts drift. If you calibrate several times and get a different answer each time, the cause is more likely the printer, the light or the paper than the Cricut.
If you are shopping for a machine mainly for stickers, our guide to the best cutting machines for stickers compares print then cut size and sensor features across Cricut, Silhouette and Brother.
Frequently asked questions
Why is my Cricut Maker not calibrating? Usually the sheet was printed scaled, the room light is shining into the sensor, or the paper is glossy. Reprint at 100 percent on matte white paper, shade the machine, and place the sheet at the top left of a LightGrip mat.
Where is the Cricut Explore calibration sheet? Design Space generates it. Open the menu, choose Calibration, pick Print Then Cut and Design Space sends the sheet to your printer.
Does a Cricut Joy need calibration? The original Joy has no print then cut, so it has no print calibration. The Joy Xtra supports print then cut and has the print then cut calibration in Design Space.
Do I need to calibrate after every blade change? Not for the fine point or deep point blades. Cricut recommends the knife blade calibration when you install a new knife blade or drive housing, and rotary calibration if fabric cuts drift.
What you need for this
- See price on AmazonAmazon
Cricut Explore 5: scores and writes, 12 in width