Explainer
Print then cut size limits and printer needs
Published
Short answer
On a Cricut Explore or Maker with Letter paper, Cricut lists the maximum Print Then Cut design at 9.94 in tall or 7.44 in wide, and the cut area is not a full rectangle. Tabloid paper raises that to 15.94 by 9.94 in. Joy Xtra supports A4 and Letter. You need a home printer, usually an inkjet, and the material must be one your printer can feed.
Gear for this job
All 7 picks compared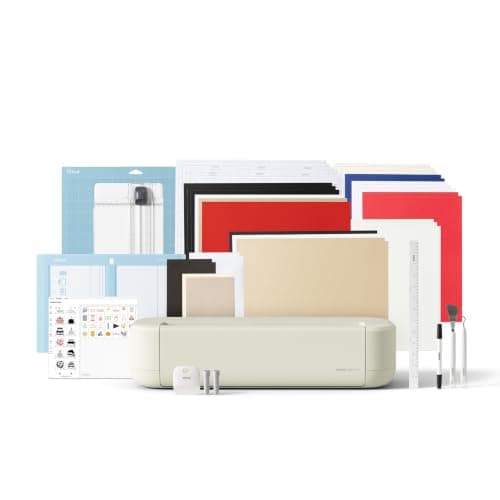
Cricut Explore 5 Essential Bundle: print then cut, 12 in
See price on AmazonSee it on Amazon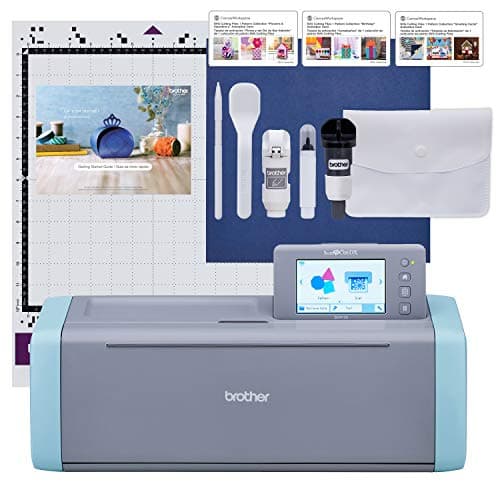
Brother SDX125E: scanner cuts printed stickers directly
See price on AmazonSee it on Amazon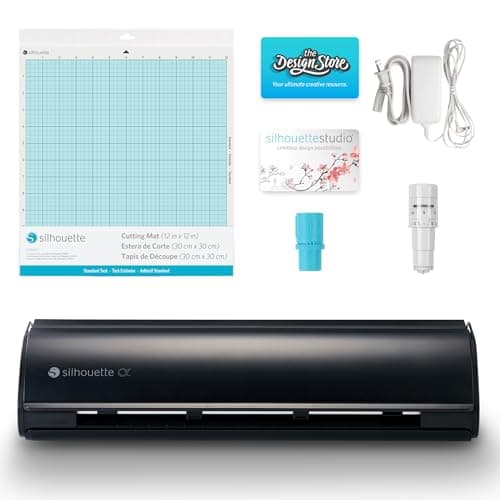
Silhouette Cameo 5 Alpha: 4-point registration
See price on AmazonSee it on Amazon
Print Then Cut lets your printer print a design and your cutter cut around it, which is how most crafters make stickers, labels and printed decals. The catch is size. Part of every page is taken up by the black registration box the cutter's sensor reads, so the usable area is smaller than the sheet and shaped like a rectangle with notched corners. This page lists Cricut's published limits for each machine family and page size, explains why a design can hit the vertical limit before the horizontal one, covers how Silhouette's Print and Cut compares, and explains what kind of printer you need.
Why the printable cut area is smaller than the page
When you send a Print Then Cut job, Design Space prints your design with a black rectangle around it. The cutter's optical sensor finds that rectangle on the mat and uses it to line the blade up with the printed image. The sensor marks and the margins your printer needs both take space, so the area inside the marks is the most your design can fill.
Cricut notes that the cuttable area is not a full rectangle: the corners are cut away where the sensor marks sit. A square design that uses the full height may therefore not fit the full width. Design Space shows red guide lines for this area and puts a warning icon in the Layers panel when a design is too big.
Cricut Print Then Cut maximum sizes
These are the limits Cricut publishes on its help site for each machine family. Maximum vertical is the tallest your design can be; maximum horizontal is the widest. Your design needs to fit both, inside the notched area, so a design at the full height may need to be narrower than the maximum width.
| Machine | Page size | Max vertical | Max horizontal |
|---|---|---|---|
| Explore and Maker series | Letter, 8.5 x 11 in | 9.94 in | 7.44 in |
| Explore and Maker series | A4, 8.3 x 11.7 in | 10.62 in | 7.2 in |
| Explore and Maker series | Legal, 8.5 x 14 in | 12.94 in | 7.44 in |
| Explore and Maker series | Tabloid, 11 x 17 in | 15.94 in | 9.94 in |
| Explore and Maker series | A3, 11.7 x 16.5 in | 15.44 in | 10.64 in |
| Joy Xtra | Letter, 8.5 x 11 in | 9.94 in | 7.44 in |
| Joy Xtra | A4, 8.3 x 11.7 in | 10.62 in | 7.2 in |
| Venture | 12 x 12 in | 10.94 in | 10.94 in |
| Venture | 13 x 19 in | 17.94 in | 11.94 in |
| Venture | 24 x 28 in | 26.94 in | 22.94 in |
Note.Cricut updates these limits from time to time. Check the Print Then Cut page size setting in Design Space for the sizes your machine supports today.
Which page sizes you can actually use
The page size has to suit three things at once: your cutter, your printer and your material. A Maker or Explore can handle Tabloid and A3 sheets, but only if your printer can print that size and you can buy printable vinyl or sticker paper in it. Most home inkjets top out at Letter or Legal, so in practice most crafters work on Letter sheets.
The original Cricut Joy does not support Print Then Cut. The Joy Xtra added it on A4 and Letter pages. The Venture accepts the widest range of page sizes, including large-format sheets, which suits shops that already own a wide printer. If you are choosing a machine with stickers in mind, see our best cutting machine for stickers guide.
Fitting more stickers on a page
If Design Space says the printable image is too large, it offers Auto-Resize, which shrinks the design to fit the selected page, or Change Page Size, which lists the larger sizes your machine supports. If you only wanted to cut a shape and not print it, change the layer's operation from Print Then Cut to Basic Cut. More sticker workflow is in how to make stickers with Cricut.
- 1
Design one sticker at the size you want on the Canvas and set its operation to Print Then Cut.
- 2
Click Make. On the Prepare screen, raise the project copies and apply until the page is full.
- 3
If the last row does not fit, go back and shrink the sticker slightly rather than changing the page size.
- 4
Leave the bleed turned on so small cut variations do not show a white edge.
- 5
Print a test page on plain paper, cut it on the mat, and check the alignment before using sticker material.
Silhouette Print and Cut
Silhouette machines do the same job under the name Print and Cut. In Silhouette Studio you turn on registration marks in the page setup, print, then load the sheet and let the Cameo or Portrait read the marks. The usable area depends on your page size and the registration mark style and margins you choose, and Studio shades the area you cannot use so you can see the limit on screen.
Because the area is set in software, Silhouette's limit changes with your settings rather than being one fixed number. Keep your design inside the unshaded area, and run a plain paper test before cutting sticker sheets. If the sensor cannot find the marks, check that the lighting is not too bright, the marks are printed solid black and the sheet is not glossy over the mark area.
What printer you need
Print Then Cut works with an ordinary home printer connected to your computer. Cricut and Silhouette do not require a particular brand. Most printable vinyl and sticker paper made for crafters is designed for inkjet printers, and some is inkjet only, so an inkjet is the usual choice. Check the material package for inkjet or laser before you buy.
Look for a printer that can feed the paper size you plan to use and handle slightly thicker sticker stock. A rear or straight paper path helps with thick sheets. Print at the printer's best quality setting on the right paper type for sharp edges. Matte white materials are easiest for the sensor; very glossy sheets can reflect light and cause registration errors, so Cricut advises care with glossy materials. Calibrate Print Then Cut in Design Space when you first start and any time cuts drift from the print.
Frequently asked questions
What is the biggest Print Then Cut size on a Cricut Maker? On Letter paper, Cricut lists 9.94 in tall or 7.44 in wide. On Tabloid paper, it is 15.94 in tall or 9.94 in wide, if your printer can print Tabloid.
Do you need a printer for a Cricut? Only for Print Then Cut projects such as stickers and printed labels. Cutting vinyl, iron-on and cardstock needs no printer.
Can the Cricut Joy do Print Then Cut? The original Joy cannot. The Joy Xtra can, on A4 and Letter pages.
Why does my Print Then Cut cut off-center? The machine needs calibrating, the sensor is struggling with glare or a glossy sheet, or the page moved on the mat. Calibrate, reduce room light glare and press the sheet flat.