How-to
How to make stickers with a Cricut
Published
Short answer
Yes, you can make stickers with a Cricut Explore Air 2, Explore 3 or 4, Maker or Joy Xtra. Design or upload your images in Design Space, set them as Print Then Cut images, print them with bleed on printable sticker paper, then load the sheet on a LightGrip mat. The machine reads the registration box and kiss cuts around each sticker, leaving them on the backing to peel off.
Gear for this job
All 7 picks compared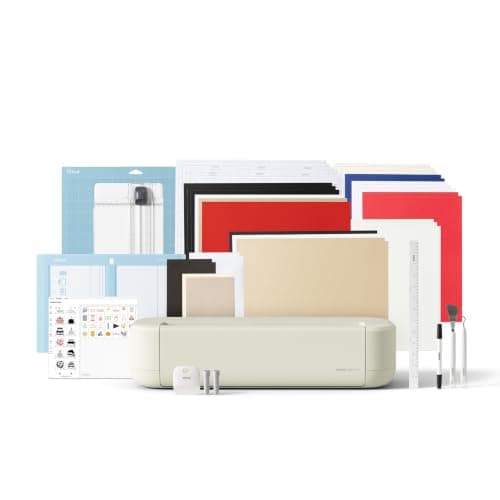
Cricut Explore 5 Essential Bundle: print then cut, 12 in
See price on AmazonSee it on Amazon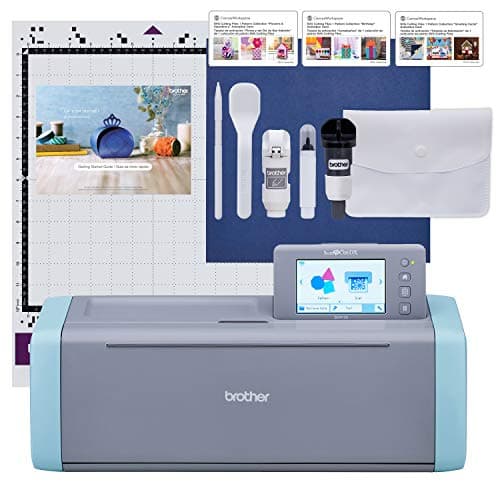
Brother SDX125E: scanner cuts printed stickers directly
See price on AmazonSee it on Amazon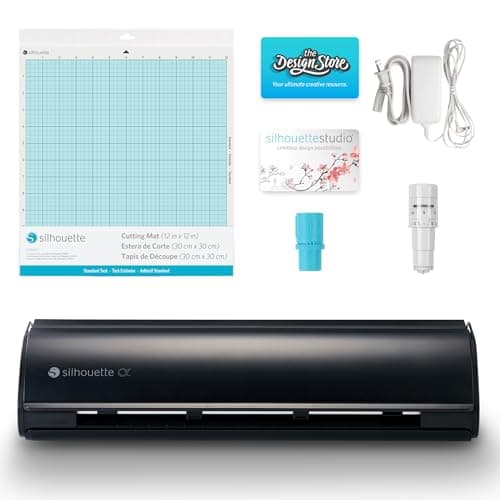
Silhouette Cameo 5 Alpha: 4-point registration
See price on AmazonSee it on Amazon
Print then cut is the feature that turns a Cricut and a home inkjet printer into a sticker maker. This guide is for crafters and small sellers making planner stickers, labels and die cut sheets. It covers which machines can do it, the full workflow from design to cut, how to choose sticker paper, and how to fix the sensor errors that stop most first attempts. The original Cricut Joy does not support print then cut; the Joy Xtra does. If your cuts land off the print, start with how to calibrate a Cricut for print then cut.
What you need
- A Cricut with print then cut: Explore Air 2, Explore 3, Explore 4, any Maker, or Joy Xtra
- An inkjet printer (most printable sticker papers are made for inkjet)
- Printable sticker paper or printable vinyl, matte to start
- A LightGrip (blue) or StandardGrip (green) mat
- The fine point blade
Step 1: design and flatten
Upload your artwork as a PNG with a transparent background, or design in Design Space. For die cut stickers with a white border, add an offset around each image and set the offset color to white. Then select each image and its offset together and choose Flatten. Flatten turns the layers into one printable image with a single cut line around the outside.
In the layers panel, check that each sticker shows Print Then Cut as its operation. If an image still shows Basic Cut, it will be cut but not printed. Arrange the stickers close together but not touching to fit more on the sheet.
Note.If you use Cricut's built-in sticker workflow, Design Space can add the offset and flatten automatically. The result is the same: one printed image with one cut line.
Step 2: print with bleed
Click Make It. Design Space places the stickers inside a black registration box. Choose Send to Printer, pick your printer and turn on Add bleed. Bleed extends the color slightly past each cut line so small alignment errors do not leave a white sliver.
Turn on Use System Dialog if you need to choose paper type or quality. Set the printer to the paper type that matches your sticker paper (often a matte or photo paper setting) and turn off any fit to page or scaling. The page must print at 100 percent or the sensor will not find the marks.
Print a single sheet and let the ink dry for a few minutes before handling it. Smudged registration marks cause read errors.
Step 3: kiss cut the stickers
A kiss cut goes through the sticker layer but not the backing, so the stickers stay on one sheet. Choose the material that matches your paper in Design Space, such as Printable Sticker Paper or Printable Vinyl. These presets are set for a kiss cut. Place the printed sheet at the top left of a LightGrip or StandardGrip mat, load it and press Go.
The machine scans the registration box, then cuts. Before unloading, lift a corner of one sticker. If it peels off and the backing is intact, unload. If the cut is too shallow, press Go again without unloading to repeat the cut, then adjust pressure next time. If the backing is cut through, choose a lighter setting or reduce pressure. Our cut settings finder shows the blade and mat for printable materials.
Choosing sticker paper
Check that the paper suits your printer type. Inkjet papers can smear or melt in a laser printer, and laser papers may not absorb inkjet ink.
| Material | Finish | Best for | Notes |
|---|---|---|---|
| Printable sticker paper | Matte | Planner stickers, labels | Easiest for the sensor to read |
| Printable sticker paper | Glossy | Bright decorative stickers | Can cause sensor glare; see fixes below |
| Printable vinyl | Matte or glossy | Water resistant stickers | Tougher; may need more pressure |
| Clear sticker paper | Clear | Labels on colored surfaces | Registration marks can be hard to read; check your paper maker's advice |
| Paper plus laminate sheet | Matte or glossy overlay | Durable stickers | Laminate before cutting, then test the cut |
When the sensor will not read the sheet
- Glare: a lamp or window light shining into the machine can blind the sensor. Shade the machine or move the light.
- Glossy paper: reflective surfaces can confuse the sensor. Try matte paper, or apply a clear laminate after cutting instead of before.
- Scaled print: turn off fit to page and print at 100 percent.
- Faint marks: use normal or best print quality with black ink, not draft mode.
- Sheet position: put the sheet at the top left corner of the grid, flat, with no curled corners.
- Still failing: run the print then cut calibration in Design Space and clean the sensor window under the carriage.
Size limits and getting more per sheet
Print then cut does not use the whole sheet. The registration box takes up the margins, and Design Space limits the printable area, which differs between machines and Design Space versions. Our print then cut size limits page covers the current numbers. To fit more stickers, keep them tight and use consistent sizes.
If you plan to sell stickers or make them in volume, a machine with a larger print then cut area and a fast sensor saves a lot of time. Our guide to the best cutting machines for stickers compares Cricut, Silhouette and Brother options, and Silhouette Cameo vs Cricut explains the differences between the two most common choices.
Frequently asked questions
Can you make stickers with a Cricut Joy? Not with print then cut on the original Joy, which has no sensor. You can cut plain vinyl stickers with it. The Joy Xtra supports print then cut.
Do I need a special printer for Cricut stickers? No. Any inkjet printer that prints at full size works with inkjet sticker paper. Make sure it can print without scaling the page.
Why are my Cricut stickers cut off-center? Usually the page was printed scaled, the printer fed the paper at a slight angle, or the machine needs print then cut calibration. Turn on bleed to hide small offsets.
Should I cut stickers all the way through? For sticker sheets, kiss cut so stickers stay on the backing. For individual die cut stickers, cut through the backing too by choosing a heavier material setting.