Fix
Why Cricut moves your design on the mat
Published
Short answer
Design Space does not cut the canvas layout. It sorts each color or material onto its own mat and packs the pieces from the top left corner to save material. To keep pieces where you placed them, select them and click Attach before Make. To put a piece on a specific spot of a used sheet, drag it on the mat preview, and pick the right mat size in the material size menu for each mat.
Gear for this job
All 7 picks compared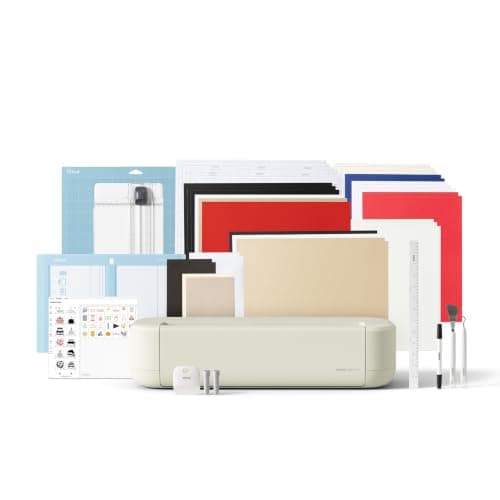
Cricut Explore 5: 12 in cutting for vinyl and cards
See price on AmazonSee it on Amazon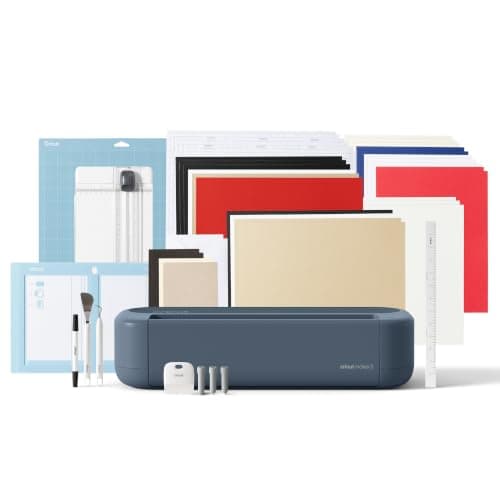
Cricut Maker 5: 3 mm materials and 13 tools
See price on AmazonSee it on Amazon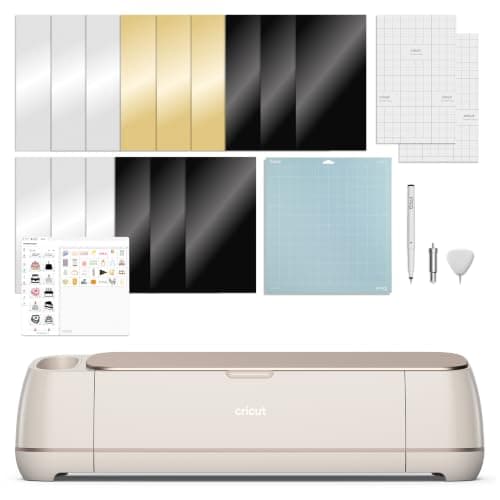
Cricut Maker 4: 300+ materials including leather and wood
See price on AmazonSee it on Amazon
You arrange a design on the Design Space canvas, click Make, and the mat preview shows the pieces somewhere else, split across mats or squeezed into the top corner. It looks like a bug, but it is how Design Space works. This page explains why it happens and how to control it: keeping a layout together, placing a cut exactly where you want it on a partly used sheet, changing the mat size, and the few mistakes that make the cut still land in the wrong spot after you fix the preview.
Why Design Space moves your design
The canvas is a design space, not a picture of the mat. When you click Make, Design Space groups the layers by color or material and puts each group on its own mat. It then places the pieces close to the top left corner so you use as little material as possible. Layers you meant to cut as one unit get split up, and the spacing you set on the canvas is ignored.
This is useful for saving vinyl, but it is wrong for a design where pieces must line up, such as text with a box around it, or when you want to cut from a leftover piece in the middle of a sheet.
Keep your layout with Attach
Attached layers of different colors are cut from the same mat in the color of the top layer, so Attach works for layout, not for multicolor cuts on separate materials. To keep the position of a single-color design on the mat, add a box shape around it the size of your material, set it to a separate layer, attach everything, then hide the box layer before you cut so the others keep their positions. Do not confuse Attach with Group: grouping only lets you move items together on the canvas; it does not hold the layout on the mat. Weld joins shapes into one, which changes the cut.
| Tool | What it does | Holds mat position |
|---|---|---|
| Attach | Keeps layers in place relative to each other on the mat | Yes |
| Group | Moves and resizes items together on the canvas | No |
| Weld | Merges overlapping shapes into one cut shape | Yes, as a single shape |
- 1
On the canvas, select every layer that must keep its position relative to the others.
- 2
Click Attach at the bottom of the Layers panel.
- 3
Check that the layers show as attached in the Layers panel.
- 4
Click Make. The attached layers stay together on one mat in the same layout.
Move pieces on the mat preview
On the mat preview screen, you can drag each piece to any spot on the mat, rotate it with the handle, and use the three-dot menu on a piece to move it to another mat. This is the way to use a partly cut sheet: place the material on the mat in the same spot as on the screen, using the grid on both, and drag the design to an empty area.
Keep the material and the preview lined up with the grid numbers. If you skip this, the machine cuts where the preview says, even if your vinyl is somewhere else on the mat.
Set the mat and material size
Each mat in the preview has a material size menu. Use it to choose the size of the material you are loading, for example 12 x 12 or 12 x 24 inches for Explore and Maker mats. If a large design shows on two mats, pick the longer size so it fits on one. Joy models have their own mat sizes, and Smart Materials cut without a mat, so the menu shows a length instead.
Design Space sometimes picks a default size based on the last job or the machine. Check the size on every mat before you press Continue, especially after switching machines. For mat sizes by model, see which Cricut mat to use and the cut size chart.
If the cut still lands in the wrong place
A mat that has lost its tack lets material slide, so a correct preview still gives an offset cut. See Cricut mat not sticky. For calibration on a Maker, see how to calibrate a Cricut Maker.
| Problem | Likely cause | Fix |
|---|---|---|
| Cut is offset from where the preview shows | Material placed off the grid, or shifted | Align with the grid; use a mat with good grip |
| Print then cut is out of line | Calibration or lighting | Run print then cut calibration in Design Space |
| Cut drifts on a long mat | Wrong mat size chosen | Set 12 x 24 in the material size menu |
| Pieces still split across mats | Not attached, or different materials | Attach layers or set them to the same color |
Save material with good layout habits
If you cut a lot of long decals or work from rolls, a machine that cuts matless may suit you better. Our best cutting machines for vinyl decals guide compares those options.
- Size the design for your material before you click Make.
- Use Attach for anything that must line up, and leave the rest free so Design Space can pack it.
- Drag pieces on the mat preview to use leftover vinyl before starting a new sheet.
- Keep scraps flat and labeled by size so you can match them to the grid.
- For long decals, use a 12 x 24 mat or Smart Materials.
Frequently asked questions
Why does Cricut move my design to the top corner? Design Space packs pieces from the top left to save material. Attach the layers before clicking Make, or drag pieces on the mat preview.
How do I fix the Cricut default mat size? On the mat preview, open the material size menu for each mat and pick the right size, such as 12 x 24. Check it on every mat, since each one has its own setting.
Does grouping keep my layout on the mat? No. Group only moves items together on the canvas. Use Attach to keep layers in place on the mat.
Can I cut a design in a specific spot on the mat? Yes. On the mat preview, drag the piece to the spot that matches where your material sits on the grid.
What you need for this
- See price on AmazonAmazon
Cricut Explore 5: scores and writes, 12 in width
From Best Cricut machines, from Joy 2 and Joy Xtra to Maker 5
- See price on AmazonAmazon
Cricut Maker 4: leather and wood, engraves and debosses