Fix
Silhouette Cameo roller and feeding problems
Published
Short answer
Most Cameo feeding problems come from the pinch rollers not sitting on the mat or material edges, a mat loaded crooked or past the guide line, or a worn mat that slides. Set the rollers for your mat or material width, line the mat up with the guide and push it against the rollers before pressing Load, then check that the mat size and loading option in Silhouette Studio match what you loaded.
Gear for this job
All 5 picks compared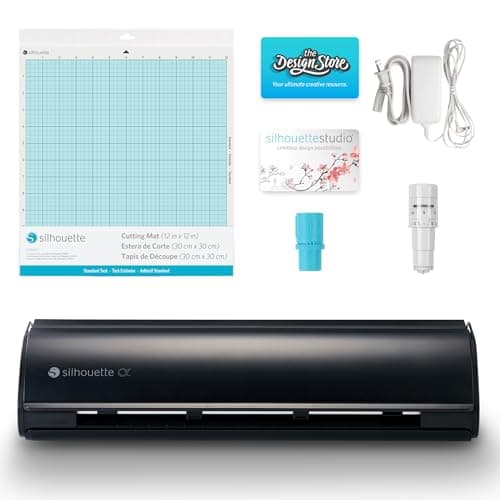
Silhouette Cameo 5 Alpha: 3 mm materials, 400 mm/s
See price on AmazonSee it on Amazon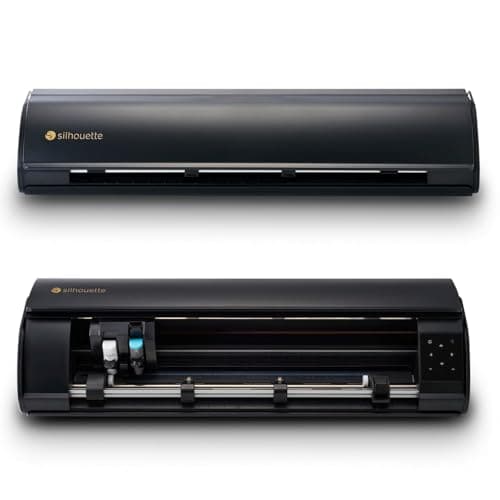
Silhouette Cameo 5 Alpha Plus: 15 in cutting width
See price on AmazonSee it on Amazon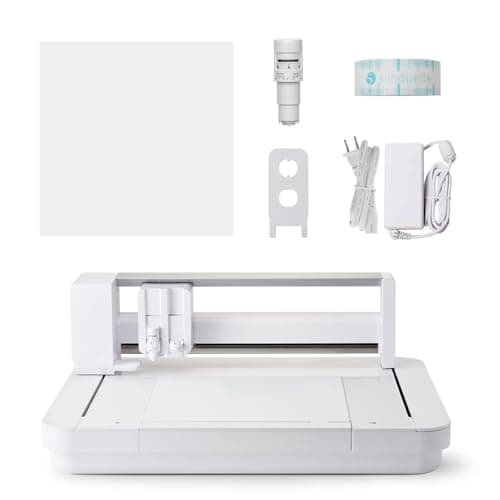
Silhouette Curio 2: 12x12 flatbed, 20 mm clearance
See price on AmazonSee it on Amazon
A Cameo that pulls the mat in crooked, spits it back out, slips during long cuts or cuts in the wrong place is almost always fighting a loading or roller problem rather than a broken part. This page is for Cameo 3, Cameo 4 and Cameo 5 owners and goes through the fixes in order: roller position, loading, mat condition, Studio settings and cleaning. Exact roller adjustments differ by model, so check your model's user guide for where its release lever and roller markings are. If you are not sure which model you have, see which Silhouette Cameo do I have.
Symptoms and likely causes
| Symptom | Likely cause | Fix first |
|---|---|---|
| Mat feeds in crooked | Mat not aligned with the guide, or one roller off the mat | Realign and reload |
| Mat will not load or ejects | Mat not touching the rollers, wrong load option | Push the mat against the rollers, choose the right load option |
| Cut drifts during a long job | Roller not gripping on one side, mat slipping | Set rollers for the width; clean rollers |
| Design cut in the wrong place | Mat size or page settings do not match | Match the mat and page in Studio |
| Material bunches or wrinkles | Material not stuck to mat, roller pressing on material edge | Use a stickier mat, trim material |
| Grinding or clicking | Something blocking the carriage or rollers | Power off and check for debris |
Step 1: set the rollers for your mat or material
The Cameo grips the mat with pinch rollers pressing down onto rubber feed rollers. Both pinch rollers need to sit on the mat (or on the material if you cut without a mat). If one roller rides beside the mat instead of on it, that side is not gripped and the mat twists.
On the Cameo 3, the right roller is adjustable: release the roller lock lever, slide the roller to the position marked for your mat width, and lock it again. On the Cameo 4 and Cameo 5, the roller setup differs and there is a roller release lever; use the positions shown in your model's user guide. If you switched from a 12 inch mat to a narrower mat or roll, the roller position is the first thing to check.
Note.Always power the machine off before moving rollers by hand or reaching into the cutting area.
Step 2: load the mat correctly
On the Cameo 4 and later, the machine and Studio ask whether you are loading with a mat or without. Choosing the wrong option makes the machine feed to the wrong position or refuse the mat. Make sure the option matches what you put in.
- 1
Line the mat's left edge up with the guide mark on the left side of the machine.
- 2
Slide the mat forward until its top edge touches the rollers. Keep it pressed lightly against them.
- 3
Press the load button on the machine, or choose Load in Silhouette Studio. The rollers should take the mat in straight.
- 4
Watch the first moment of feeding. If it twists, unload, realign and try again rather than letting the job run.
Step 3: check the mat
A mat that has lost its tack lets material slide even when the rollers grip perfectly, so cuts drift or double up. A warped or curled mat can also catch on the way in. Clean the mat, and replace it if the surface is worn or the edges curl. Do not trim a mat, because the machine reads its size.
Use the right mat for the material: LightHold for paper, StandardHold for vinyl and cardstock, StrongHold for thick materials. Material that hangs over the mat edge can catch on the rollers, so trim it to fit inside the cutting grid.
Step 4: match Silhouette Studio to what you loaded
Cuts that land in the wrong place on the mat are often a settings issue rather than a roller issue. In Studio's Page Setup panel, check that the cutting mat chosen matches the mat you are using, and the media size matches your material. Turn on the cut border to see the area the machine can reach, and keep the design inside it.
If a design is rotated or cut sideways, check page orientation and rotate view settings. Our page on why text cuts vertical covers orientation problems on Cameo and other cutters.
Step 5: clean the rollers and update firmware
Vinyl fragments, paper dust and adhesive on the feed rollers reduce grip. With the machine off and unplugged, wipe the rollers with a dry lint-free cloth. Remove scraps from around the carriage and under the rollers. Avoid solvents unless Silhouette's guide for your model allows them, since they can damage rubber parts.
Update Silhouette Studio and the machine's firmware. Updates can change loading behavior and fix known feeding issues. Use Silhouette's own update tools and keep the machine connected until the update finishes.
Alignment problems on print and cut
If plain cuts are fine but print and cut jobs miss the print, the problem is the registration marks or sensor, not the rollers. Print at full size without scaling, keep glare off the sensor, and make sure the registration mark settings in Studio match the ones you printed. Matte paper is easier for the sensor to read than glossy.
If your machine keeps slipping after all these steps, contact Silhouette support, since a worn roller or carriage part may need service. For a newer machine, our guide to the best Silhouette Cameo compares current models, and Silhouette Cameo 5 vs Cameo 4 covers what changed. Related fixes: Silhouette Cameo not cutting and Silhouette Cameo cut settings.
Frequently asked questions
How do I load a Silhouette Cameo correctly? Line the mat up with the left guide, push it gently against the rollers and press Load. Choose the matching mat or no mat option in Studio, and make sure both pinch rollers sit on the mat.
Why does my Cameo 3 mat feed crooked? The right roller is usually not set for the mat width, or the mat was not lined up with the guide. Set the roller to the mat width mark and reload.
Why is my Cameo 4 cutting in the wrong place? Check that the mat and page size in Studio match what you loaded, and that the load option is correct. Then check the mat for slipping and the rollers for debris.
Can I cut without a mat on a Cameo? Yes, with materials that have a stiff backing, such as vinyl and heat transfer vinyl on their liner. Choose the no mat option and set the rollers to grip the material edges.
What you need for this
- See price on AmazonAmazon
Silhouette Cameo 5 Alpha: materials up to 3 mm
 See price on AmazonAmazon
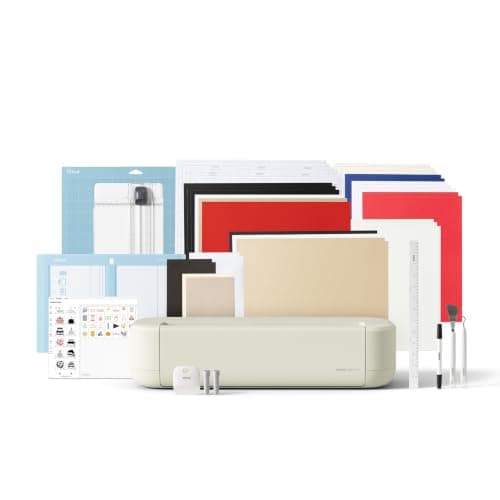
Cricut Explore 5: scores and writes, 12 in width
From Best cutting machines for beginners: Cricut, Silhouette and Brother