Explainer
Silhouette Cameo cut settings by material
Published
Short answer
Start with the material preset in Silhouette Studio's Send panel, which sets blade depth, force, speed and passes for the AutoBlade. Run the Test cut on a corner of the material, then adjust one setting at a time: raise force or depth if the cut does not go through, lower them if the backing is cut. Thin vinyl uses low depth, cardstock and glitter need more, and thick items go to the Kraft Blade on a Cameo 4 or later.
Gear for this job
All 5 picks compared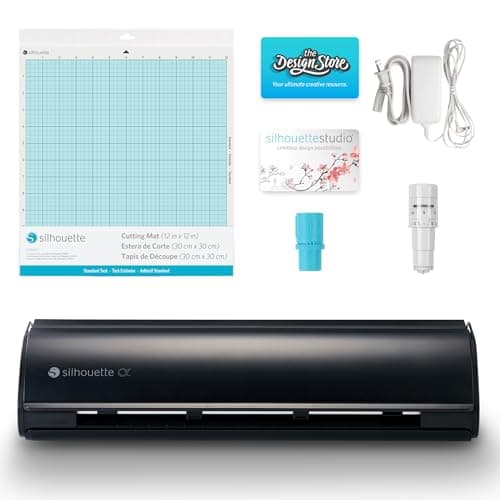
Silhouette Cameo 5 Alpha: 3 mm materials, 400 mm/s
See price on AmazonSee it on Amazon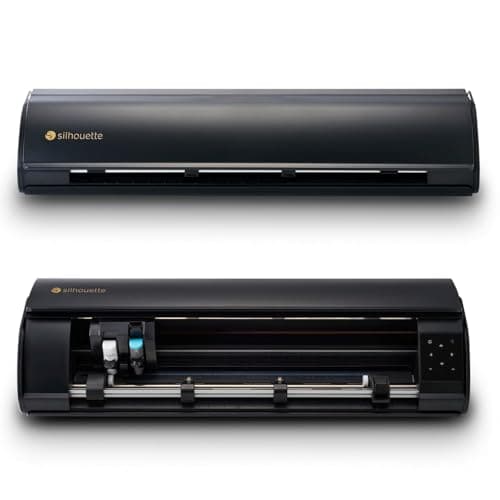
Silhouette Cameo 5 Alpha Plus: 15 in cutting width
See price on AmazonSee it on Amazon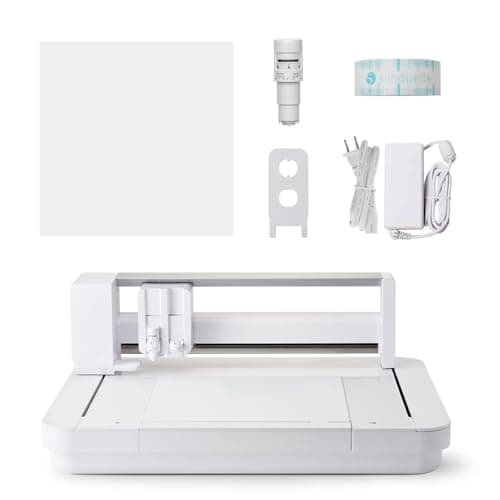
Silhouette Curio 2: 12x12 flatbed, 20 mm clearance
See price on AmazonSee it on Amazon
Silhouette Studio has a material list for every Cameo, but presets are written for Silhouette's own materials and other brands cut differently. This page explains what each of the four settings does, gives starting points by material using the presets, and shows the test cut method that gets clean results with any brand. It applies to the Cameo 3, Cameo 4, Cameo 4 Plus and Pro and Cameo 5 with the AutoBlade, and it covers when to switch to the Kraft Blade. For a quick lookup by material, try our cut settings finder.
The four settings and what they do
On the Cameo 4 and later, the AutoBlade sets its own depth from the material you choose in Studio. On the Cameo 3 the AutoBlade also adjusts itself when you send a job. Older ratchet blades were set by hand with the depth numbers on the blade cap.
| Setting | What it controls | Raise it when | Lower it when |
|---|---|---|---|
| Blade depth | How far the blade tip sticks out of the AutoBlade | Material is thicker or the cut does not reach the bottom | The backing or mat is being cut |
| Force | How hard the carriage presses the blade down | Cuts are faint or incomplete | Liner is scored deeply or material tears |
| Speed | How fast the blade moves | Simple shapes in thin vinyl, to save time | Small text, fine detail or tearing corners |
| Passes | How many times the blade repeats the path | Thick cardstock, glitter, felt | Thin vinyl and paper rarely need more than one |
Starting settings by material
Pick the closest material in the Send panel first, then adjust. The table shows the direction to move from that preset, not fixed numbers, because Silhouette's own figures change with machine model and Studio version.
| Material | Blade and mat | Preset to pick | Adjust |
|---|---|---|---|
| Adhesive vinyl | AutoBlade, StandardHold | Vinyl, Glossy or Matte | Low depth; raise force a step if corners stay attached |
| Heat transfer vinyl (HTV) | AutoBlade, StandardHold | Heat Transfer, Smooth | Mirror the design, shiny side down; low depth |
| Glitter or flocked HTV | AutoBlade, StandardHold | Heat Transfer, Glitter or Flocked | Higher depth or force; add a second pass if needed |
| Cardstock | AutoBlade, StandardHold | Cardstock, matched to weight | Higher depth than vinyl; slow down for detail |
| Sticker paper | AutoBlade, StandardHold | Sticker Paper, matching finish | Kiss cut so only the top layer is cut |
| Copy paper | AutoBlade, LightHold | Copy Paper | Lowest settings; slow speed for fine detail |
| Chipboard, thick felt, craft foam | Kraft Blade (Cameo 4 and later), StrongHold | Matching material | Set the Kraft Blade depth by hand; several passes |
How to run the test cut
The test cut is the most useful button in Silhouette Studio. It cuts a small square with a triangle inside at the current settings, in a corner of your material, so you can check the cut before committing the whole sheet.
- 1
Load the material and choose it in the Send panel.
- 2
Use the arrow buttons in the Send panel to move the blade over a spare corner.
- 3
Click Test. The Cameo cuts the small square and triangle.
- 4
Weed the triangle out of the square. For vinyl, the triangle should lift off cleanly and the liner should show only a faint line. For cardstock, the shape should drop out without tearing.
- 5
Change one setting by one step if needed, move to a new spot and test again.
Reading a bad test cut
- Triangle will not lift, corners stay attached: add one step of force, or raise depth if force is already high. Check that the blade is clean and seated.
- Liner cut through or scored deeply: lower depth first, then force. Cutting through the liner on vinyl means weeding will tear the backing apart.
- Torn corners or ragged small letters: lower the speed, and check the blade for wear.
- Cut on one side but not the other: the material is not flat on the mat, the mat is worn, or the rollers are not gripping evenly. See Silhouette Cameo roller problems.
- Nothing cuts at all: check that the blade is in the right carriage and the tool selected in Studio matches it. See Silhouette Cameo not cutting.
AutoBlade or Kraft Blade
The AutoBlade handles almost everything a Cameo owner cuts: vinyl, HTV, paper, cardstock, sticker paper and thin fabric with a backer. For thicker items such as chipboard, craft foam, thick felt and thin leather, Silhouette sells the Kraft Blade for the Cameo 4 and later. It comes in 2 mm and 3 mm versions, and the 3 mm blade fits only the second tool carriage on the Cameo 4 and later. Dense hardwood is beyond what a Cameo is built for, so check Silhouette's material list for your thickness before buying.
Use a StrongHold mat and tape thick materials down. Multiple passes are normal for thick items. If thick materials are your main work, our guide to cutting machines for thick materials compares machines that handle them more easily.
Keep a settings log
Once a test cut is clean, save the setting as a custom material in Silhouette Studio and name it after the brand and color. Different vinyl colors from the same brand can cut differently, especially metallics and glitter. A saved material turns the next project into a one-click setup.
If you are comparing machines, our best Silhouette Cameo guide covers the current models, and Silhouette Cameo 5 vs Cameo 4 explains what changed. Not sure of your model? See which Silhouette Cameo do I have.
Frequently asked questions
What are the Silhouette Cameo HTV settings? Choose the Heat Transfer material that matches your vinyl (smooth, glitter or flocked) in the Send panel, mirror the design, and place the vinyl shiny carrier side down. Run a test cut and adjust depth or force one step at a time until the design weeds cleanly without cutting the carrier.
What cutting depth should I use on a Silhouette Cameo? Start with the depth the material preset sets. Thin vinyl uses low depth, cardstock and glitter need higher depth. The test cut tells you whether to move up or down.
Does a slower speed cut better? Slower speeds help with small text, tight curves and delicate paper. For large simple shapes in vinyl, speed makes little difference to quality.
When should I use more than one pass? For thick cardstock, glitter cardstock, felt and Kraft Blade materials. Raise passes only after depth and force are set, because extra passes with a shallow blade still leave uncut fibers.