How-to
How to set up a Vevor vinyl cutter
Published
Short answer
Assemble the stand, fit the blade in the holder with only a little tip showing, then install SignMaster with the activation code that ships with the machine. Connect by USB, install the USB driver if Windows does not see the cutter, and match the port and settings in SignMaster to the cutter. Load vinyl under the pinch rollers, set the origin and run a small test cut before a real job.
Gear for this job
All 6 picks compared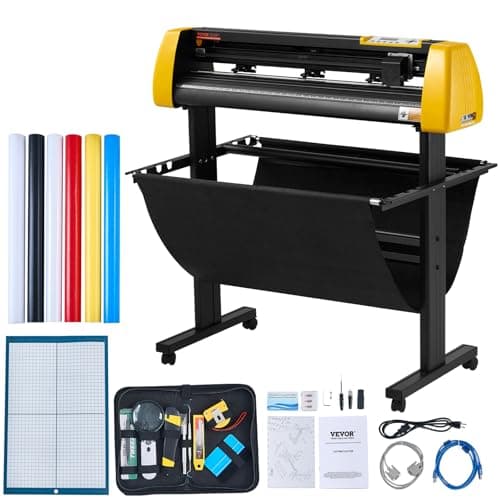
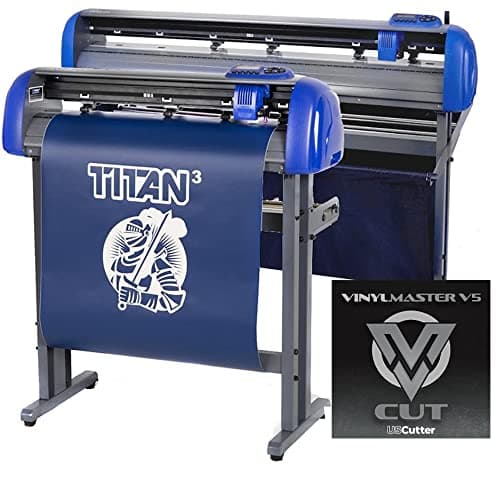
VEVOR 34 in with camera contour cutting and stand
See price on AmazonSee it on Amazon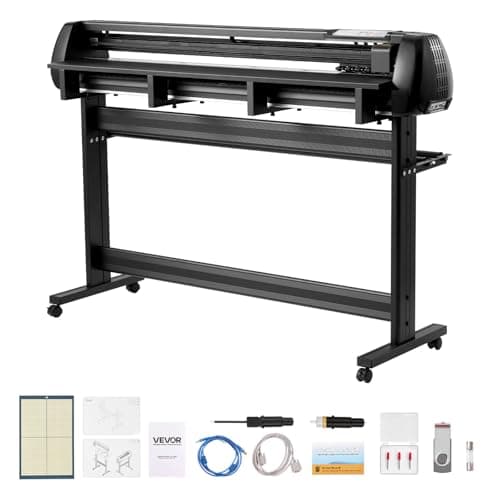
VEVOR 53 in dual-blade plotter with Mac support
See price on AmazonSee it on Amazon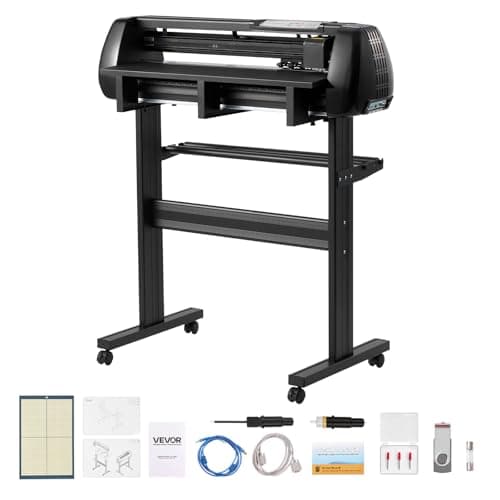
VEVOR 28 in dual-blade plotter with Mac support
See price on AmazonSee it on Amazon
Vevor sells roll-fed vinyl plotters in 28, 34 and 53 inch sizes, and most of them arrive with SignMaster software and a drag knife blade holder. They cut well once set up, but the setup is closer to a sign shop plotter than a Cricut: you pick a port, set blade exposure by hand and choose force and speed on the control panel. This page walks through the whole process in order, from the box to a clean first decal, and points out the steps where most first-time owners get stuck.
What comes in the box and what you need
Vevor's listings describe a plotter with a USB port and a serial (COM) port, a control panel with an LCD, double-spring pinch rollers over a knurled feed roller, a blade holder with blades, and SignMaster software delivered as a CD or a download link with an activation code (PSN). Some bundles add a floor stand, vinyl rolls and weeding tools.
You also need a computer. Several Vevor listings say the older models are not compatible with Mac and list Windows only, while newer dual-blade models list both Windows and macOS. Check the listing or manual for your exact model before you plan your workflow. Keep the activation code somewhere safe: you need it to install SignMaster again on a new computer.
- The plotter and stand (if your bundle has one)
- Blade holder and spare blades
- USB cable
- SignMaster installer or download link plus the activation code
- A roll or sheet of adhesive vinyl or heat transfer vinyl for the test cut
Step 1: Assemble the stand and place the cutter
Build the stand on a flat floor and bolt the cutter to it as the manual shows. Place it where the vinyl can feed out the front and back without hitting a wall, because the plotter moves the material back and forth while it cuts. Leave room behind it for the roll holder if your model has one.
Plug the cutter into a grounded outlet and switch it on once to check the LCD lights up and the carriage moves to its home position. Then switch it off again until the software is ready.
Step 2: Install the blade and set blade exposure
A vinyl plotter uses a drag knife: a small angled blade that swivels in its holder and trails behind the holder's center. Drop a blade into the holder, then turn the adjusting cap until only a tiny amount of tip shows. For vinyl, the exposed tip should be about the thickness of the vinyl film, so the blade goes through the vinyl and only scores the paper liner.
Too much exposure is the most common setup mistake. The tip cuts into the liner, the vinyl tears on small letters and the blade wears faster. Start with less than you think you need and add a little at a time after test cuts. A 45 degree blade is the standard choice for sign vinyl and heat transfer vinyl.
Note.Blades are very sharp. Hold the holder with the tip pointing away from you when you adjust it, and keep spare blades in their case.
Step 3: Install SignMaster and the USB driver
Install SignMaster from the CD or the download link and enter the activation code from the card or magnet in the box. Then connect the cutter to the computer by USB and switch it on. On Windows, open Device Manager and look under Ports (COM & LPT). If the cutter shows up with a COM number, note it. If it appears with a warning icon or not at all, install the USB driver supplied with the cutter's software or download package, then unplug and reconnect the cable.
In SignMaster, open the cutter setup, choose the Vevor model or the matching plotter entry the manual names, and select the same COM port that Device Manager shows. If your manual lists a baud rate or command language (the listings name DM/PL and HP/GL), set the software to match what the cutter's panel uses. A port or language mismatch is the usual reason a cutter receives a job and does nothing, or cuts random lines.
- 1
Install SignMaster and activate it with the code in the box.
- 2
Connect the USB cable and switch the cutter on.
- 3
Find the COM port number in Device Manager; install the driver if it is missing.
- 4
In SignMaster cutter setup, select your model and that COM port.
- 5
Match the command language and baud rate to the manual.
Step 4: Load vinyl and position the pinch rollers
Lift the pinch roller lever and slide the vinyl in from the back, shiny liner side down for adhesive vinyl. For heat transfer vinyl, load it with the carrier sheet facing up and mirror the design in the software. Both outer pinch rollers must sit on the vinyl and over the gritty sections of the feed roller, usually marked on the frame. Rollers between the grit sections or off the edge of the material let the vinyl slip and the cut drifts.
Square the vinyl to the front edge, lower the lever and feed a short length through to check that it tracks straight. If the roll drifts to one side over a long feed, reload it straighter before you cut. For long jobs, unroll enough vinyl to cover the job so the plotter is not pulling against the roll's weight.
Step 5: Set force, speed and origin, then test
Vevor's listings give an adjustable cutting force of roughly 10 or 20 to 500 grams and speeds up to about 800 mm per second, depending on the model. There is no single correct number: it depends on your vinyl, your blade exposure and blade wear. Start low on force and moderate on speed, then use the panel's test cut function or a small square in SignMaster.
Use the arrow keys to move the carriage to where you want the cut to start and set that as the origin. After the test, peel the test shape. A good kiss cut weeds cleanly and leaves only a faint line on the liner. If the vinyl does not release, raise force a step. If the liner is cut through, lower exposure first, then force. Change one setting at a time. The cut settings finder gives starting points for drag knife plotters and other machines.
Common first-day problems
If text comes out stretched or cut sideways, see vinyl cutter text cutting vertical. If the cutter connects but still will not cut cleanly, work through Vevor vinyl cutter not cutting. Comparing sizes before you buy? Our Vevor vinyl cutter guide lists the 28, 34 and 53 inch models.
| What happens | Likely cause | What to try |
|---|---|---|
| Job sent, cutter does nothing | Wrong COM port or driver missing | Check Device Manager, reselect the port in SignMaster |
| Random lines or symbols | Language or baud rate mismatch | Match DM/PL or HP/GL and baud to the manual |
| Vinyl not cut through | Too little exposure or force | Raise force a step, then exposure |
| Liner cut through | Too much exposure | Turn the blade cap to hide more tip |
| Cut drifts on long jobs | Pinch rollers off the grit areas | Reposition rollers over the marked grit sections |
Frequently asked questions
Does a Vevor vinyl cutter work with Cricut Design Space? No. Design Space only drives Cricut machines. Vevor plotters ship with SignMaster, and some listings also name other sign programs that send HP/GL or DM/PL commands. See free vinyl cutter software for options.
Can I use a Vevor vinyl cutter with a Mac? It depends on the model. Several older Vevor listings say the cutter is not compatible with Mac, while the newer dual-blade models list macOS support. Check your model's listing or manual.
Why does my computer not see the cutter? Usually the USB driver is not installed or the cutter was off when you plugged it in. Switch the cutter on, reconnect the cable, check Device Manager for a COM port and install the driver from the cutter's software package if needed.
What blade does a Vevor cutter use? Most use a drag knife holder that takes standard plotter blades; one listing calls its holder Roland compatible. A 45 degree blade is standard for vinyl. Check your holder before you buy spares, and read how to adjust vinyl cutter blade for exposure.