How-to
How to adjust a vinyl cutter blade depth and force
Published
Short answer
Set the blade exposure first: the tip should stick out of the holder about the thickness of the vinyl film, so it can cut the film and just score the liner. Then start with the plotter's preset force, run a test cut, and raise force in small steps until the shape weeds cleanly. If the liner is cut through, reduce exposure before reducing force.
Gear for this job
All 7 picks compared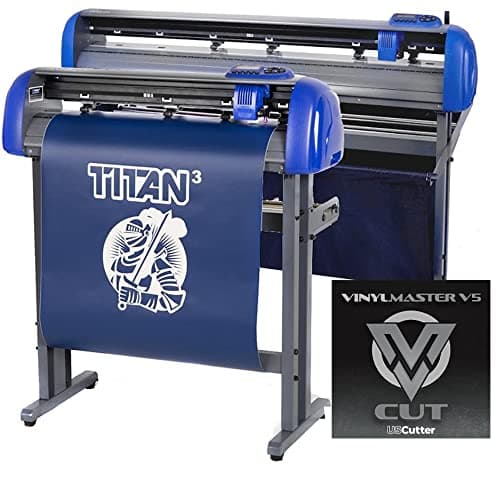
USCutter Titan 3 28 in: servo, 750g, ARMS contour
See price on AmazonSee it on Amazon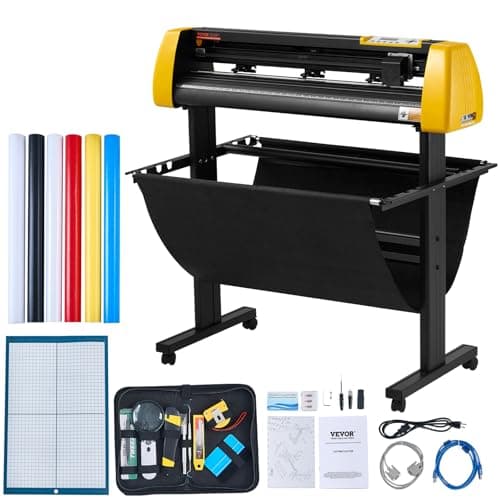
VEVOR 34 in camera contour cutter: 500g, 800 mm/s
See price on AmazonSee it on Amazon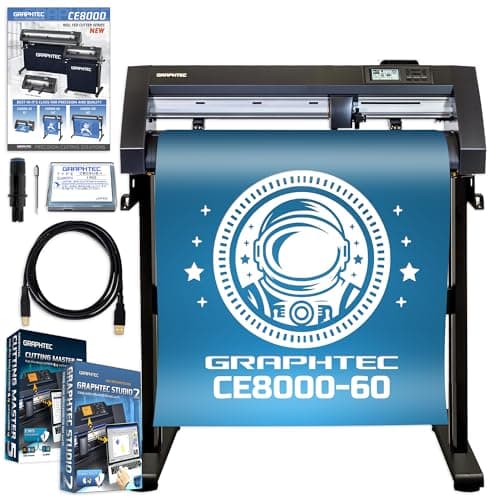
Graphtec CE8000-60 Plus: 24 in industrial plotter
See price on AmazonSee it on Amazon
Roll-fed vinyl plotters from brands such as Vevor, USCutter, Roland and Graphtec use a drag knife: a small blade that swivels in a holder and trails behind the cutting direction. Getting clean decals depends on three settings working together: how far the blade sticks out, how hard the plotter presses, and the offset that tells the software how far the tip trails. This guide covers each one, a test cut routine, and how to read the results. It applies to most drag knife plotters; menu names differ by brand, so check your manual for where each setting lives.
How a drag knife cuts
A drag knife is not steered. The blade spins freely in its holder and the tip trails slightly behind the holder's center, like a caster wheel. On corners, the plotter moves in a way that swings the tip around. The distance between the holder center and the tip is the offset, and the software or plotter needs to know it to cut sharp corners.
The blade exposure is how much of the tip sticks out of the holder cap. The force (sometimes called pressure, in grams on many plotters) is how hard the plotter pushes the holder down. The holder cap rides on the vinyl, so exposure sets the maximum depth even if force is high. That is why exposure is set first.
Step 1: set the blade exposure
- 1
Remove the blade holder from the plotter's carriage.
- 2
Turn the adjustment cap or knob on the holder to retract the blade fully, then extend it a little at a time.
- 3
Hold a piece of the vinyl you will cut next to the tip. The visible blade should be about the thickness of the vinyl film, a little more than the film but much less than film plus liner.
- 4
Drag the holder lightly across a scrap of vinyl by hand. It should cut the colored film and leave only a faint line in the liner. If it cuts through the liner, shorten the exposure.
- 5
Put the holder back and tighten its clamp so it sits at the height the manual specifies.
Note.Blades are very sharp and the tip is easy to chip. Retract the blade before handling the holder and never press the tip onto a hard surface.
Step 2: set the force with a test cut
Start with the plotter's preset or the value your cutting software suggests for the material, if it has one. If not, start low. Most plotters have a test cut button or menu item that cuts a small square or a circle with a cross. Run it at the edge of the vinyl.
- 1
Run the test cut at the starting force.
- 2
Weed the test shape. If it does not lift cleanly or corners stay attached, raise force by a small step and test again in a new spot.
- 3
Stop when the shape weeds cleanly and the liner shows only a light line. Turn the liner over: you should not see the cut from the back.
- 4
If you reach a clean cut but the liner is scored deeply, back the force down one step.
Step 3: set the offset
Offset matters most on small text and sharp corners. With the wrong offset, corners come out rounded or with small hooks and tails. Set the offset in the plotter menu or the cutting software, using the value for your blade from the blade maker or the plotter's manual. Many plotters and programs have a default for the standard 45 degree blade.
Cut a small square and a small letter, such as a capital E. Rounded corners suggest the offset is too low; overcut tails at the corners suggest it is too high. Change it in small steps.
Choosing a blade angle
Blades must match the holder style. Most hobby plotters use a Roland-style holder, but not all do, so check the manual before buying spares.
| Blade | Typical use | Notes |
|---|---|---|
| 45 degree | Standard adhesive vinyl and most heat transfer vinyl | The usual blade that ships with plotters |
| 60 degree | Thicker films: glitter HTV, flock, reflective, sandblast stencil | Longer tip, needs more exposure and often slower speed |
| Smaller angles | Very thin films and fine detail | Check what your blade holder accepts |
Reading bad cuts
| Symptom | Change first | Then |
|---|---|---|
| Vinyl not cut through in spots | Raise force one step | Check exposure, clean the holder, check the strip under the blade is not damaged |
| Liner cut through | Reduce exposure | Reduce force |
| Rounded corners, ragged small text | Adjust offset | Lower speed, replace a worn blade |
| Cut weaves or lines are wavy | Lower speed | Check the pinch rollers are on the grit wheels |
| Lines double or do not close | Check the holder is tight | Check the vinyl is not slipping; see the roller section of your manual |
Speed and maintenance
Lower speeds help small text and thick materials. Many plotters cut cleanly at moderate speeds; go slower if corners lift or lines waver. Keep the blade holder free of vinyl fragments and adhesive. A blade that suddenly needs much more force than before is usually dull or chipped, and replacing it is cheaper than chasing settings.
For brand specific help, see how to set up a Vevor vinyl cutter and Vevor vinyl cutter not cutting. For a quick starting point by material, try our cut settings finder. If you are buying a plotter, our guide to the best vinyl cutters for a small business covers machines with good blade holders and test cut functions.
Frequently asked questions
How much blade should stick out on a vinyl cutter? About the thickness of the vinyl film, so the tip cuts the film and only scores the liner. Start short and extend a little at a time.
Should I adjust force or blade depth first? Blade depth (exposure) first, then force. Exposure limits how deep the blade can go; force decides whether it reaches that depth.
What vinyl cutter blade should I use for HTV? A standard 45 degree blade cuts most smooth heat transfer vinyl. Thicker films such as glitter and flock often cut better with a 60 degree blade.
Why does my vinyl cutter cut through the backing? The blade is extended too far or the force is too high. Shorten the exposure first, then lower force, and run a test cut after each change.