Explainer
Shirt decal size chart for Cricut projects
Published
Short answer
A common starting point for a full-front design is about 10 to 12 in wide on adult shirts, 7 to 9 in on youth sizes, 5 to 7 in on toddler shirts and 4 to 5 in on infant bodysuits. Left chest or pocket designs usually run 3 to 4 in wide, and sleeve designs about 2.5 to 3.5 in. Always measure the actual shirt and check with a paper mockup before cutting.
Gear for this job
All 7 picks compared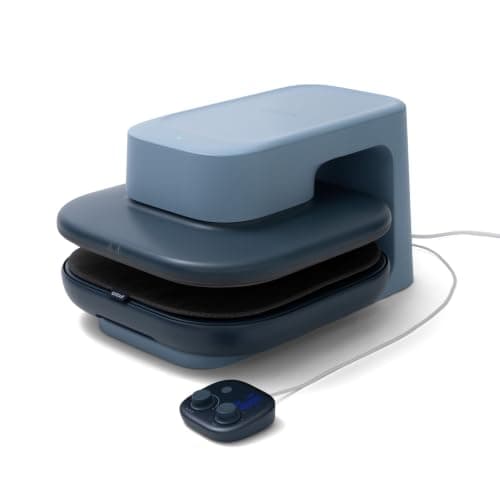
Cricut AutoPress 2: 15x15, 220 lb auto pressure
See price on AmazonSee it on Amazon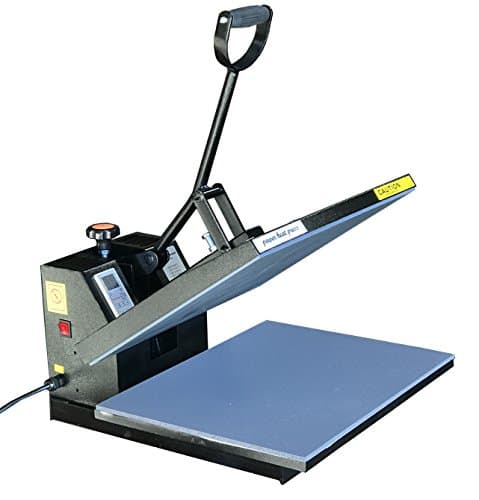
Fancierstudio 16x20 clamshell: larger plate, 1800W
See price on AmazonSee it on Amazon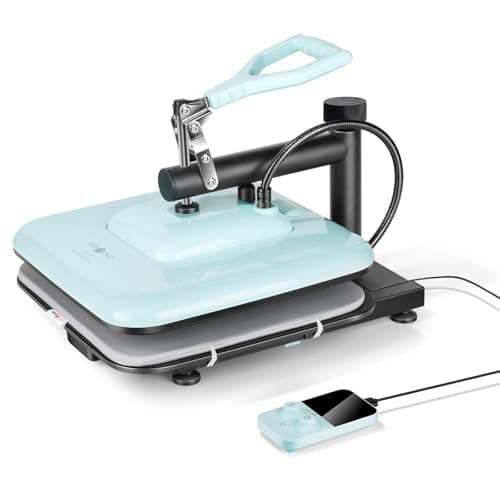
HTVRONT 15x15 swing-away press: 104 to 410°F
See price on AmazonSee it on Amazon
Sizing a decal is one of the first questions after cutting your first iron-on shirt. Too small and the design looks lost; too big and it wraps into the armpits or over the seams. Shirt cuts vary between brands, so there is no single correct number, but crafters and print shops use a well-established set of ranges as a starting point. This page gives those ranges by shirt size and placement, explains how to measure, and shows how to place the design with a simple paper test. Use it for HTV, Infusible Ink and sublimation designs alike.
How to use this chart
The sizes below are common starting widths, not rules. They assume a typical crew-neck T-shirt. Fitted women's cuts, V-necks and small brands run narrower; oversized and tall shirts allow more. The width is the measure that matters most. Height follows from your design's proportions, but keep very tall designs shorter than about the distance from the collar to the lower ribs on the wearer.
Measure the flat shirt across the chest from side seam to side seam, about an inch below the armpits. A full-front design usually looks right at roughly two thirds of that width or a little less. If your measured shirt is narrower than average, scale down.
Full-front decal sizes by shirt size
| Shirt size | Typical design width | Typical max height |
|---|---|---|
| Infant bodysuit (0 to 12 months) | 4 to 5 in | 4 to 5 in |
| Toddler (2T to 5T) | 5 to 7 in | 5 to 7 in |
| Youth XS to S | 6 to 8 in | 7 to 8 in |
| Youth M to XL | 8 to 9 in | 8 to 10 in |
| Adult S to M | 9 to 10 in | 10 to 11 in |
| Adult L to XL | 10 to 11 in | 11 to 12 in |
| Adult XXL and up | 11 to 12 in | 12 in or more |
Note.These ranges are common practice, not a standard. Measure the shirt you are pressing and check with a paper mockup before cutting expensive vinyl.
Pocket, sleeve, back and other placements
Placement measurements are taken from the seams because they are easy to find on any shirt. Small children's shirts need smaller distances: on toddler and infant sizes, start a front design about 1.5 to 2 in below the collar instead of 3 in.
| Placement | Typical width | Where to place it |
|---|---|---|
| Left chest or pocket | 3 to 4 in | About 3 to 4 in below the shoulder seam, centered over the left chest |
| Short sleeve | 2.5 to 3.5 in | Centered on the outside of the sleeve, about 1 in above the hem |
| Back yoke (below collar) | 3 to 6 in wide | About 1 to 2 in below the back collar seam |
| Full back | 10 to 12 in on adults | About 3 to 4 in below the back collar |
| Hat or cap front | 2 to 4 in | Centered on the front panel |
| Tote bag | Up to about 10 in | Centered, leaving margin from the seams |
Placing the design straight
Many crafters use a T-shirt ruler guide, a flexible plastic template that shows center lines and common placements for each size. It speeds up repeat orders. A rule of thumb many use is the width of four fingers from the collar for an adult front, but measuring is more consistent.
For heat settings, use the transfer maker's numbers. Our heat press settings tool lists the published settings for common HTV and Infusible Ink, and how to apply iron-on vinyl walks through pressing.
- 1
Fold the shirt in half lengthwise and press a light crease down the center with the heat press or iron.
- 2
Measure down from the bottom of the collar seam: about 3 in for adult fronts, less for children.
- 3
Print or cut your design on plain paper at the planned size and lay it on the shirt to check the look.
- 4
Weed the vinyl and line up the center of the design with the crease, top edge at your mark.
- 5
Press according to the transfer maker's instructions.
Make sure your machine and press fit the design
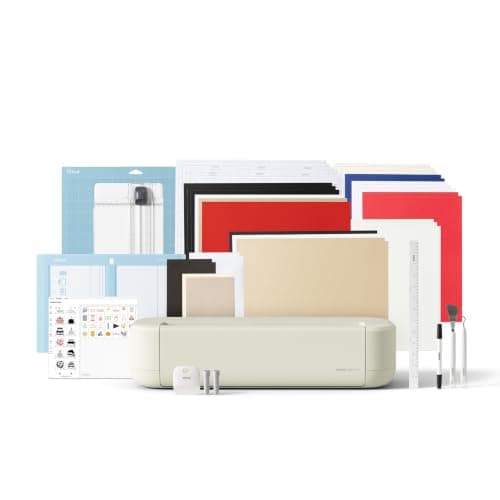
Your cutter has to cut the width you need. Most 12 inch machines handle any shirt design in one piece, while the Cricut Joy and Joy Xtra are narrower and may need a large adult design split into pieces. Check our cutting machine cut size chart for each model.
Your heat source matters too. A 9 by 9 in or similar handheld press covers small and medium designs in one press but needs overlapping presses on a large adult back. A 15 by 15 in clamshell or swing-away press covers most adult designs at once. See best heat press for T-shirts and best cutting machine for T-shirts.
Common sizing mistakes
For a batch of mixed sizes, many shops pick three sizes of the same design, such as small, medium and large, rather than a unique size for every shirt. It keeps cutting quick and still looks proportional. If you are pricing a shirt business, see equipment for a vinyl shirt business.
- Using the same width for every shirt size in an order: scale youth and toddler shirts down
- Placing the design too low, so it sits over the stomach instead of the chest
- Ignoring tall designs: a long quote at 11 in wide can run very tall
- Pressing across seams, collars or zippers, which leaves gaps in adhesion
- Forgetting to mirror iron-on before cutting
Frequently asked questions
What size should a Cricut shirt decal be for an adult? A full-front design commonly runs about 10 to 12 in wide on adult shirts, smaller on S and M. Measure the shirt and test with paper first.
What size is a left chest design? Usually 3 to 4 in wide, placed about 3 to 4 in below the shoulder seam over the left chest.
How far below the collar should a shirt design go? About 3 in on adult shirts and less on children's sizes, measured from the bottom of the collar seam.
What size decal for a youth shirt? Commonly about 6 to 9 in wide depending on the youth size, with smaller widths for XS and S.
What you need for this
- See price on AmazonAmazon
Cricut AutoPress 2 15x15: 220 lbs, 410°F, Bluetooth
 See price on AmazonAmazon
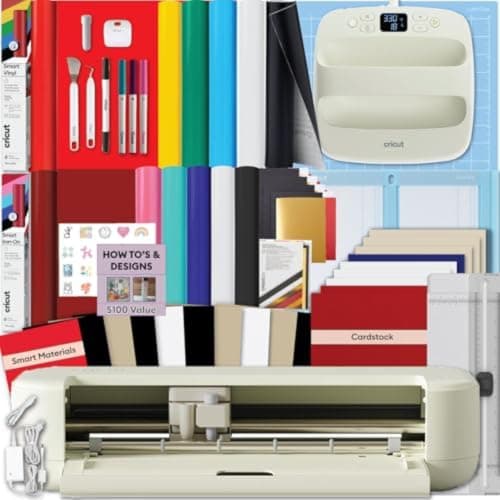
Cricut Explore 5 + EasyPress 9x9: 12 in cutter and press
From Best cutting machines for making T-shirts with iron-on and HTV
 See price on AmazonAmazon
Cricut Explore 5: scores and writes, 12 in width
From Best Cricut machines, from Joy 2 and Joy Xtra to Maker 5