Explainer
Heat press temperature and time guide for iron-on
Published
Short answer
Use the numbers the maker publishes for your exact product and press. Cricut's Heat Guide lists Everyday Iron-On on 100% cotton with an EasyPress 2 at 315 F for 30 seconds with firm pressure and a cool peel. Siser lists EasyWeed at 305 F for 10 to 15 seconds with medium pressure on a heat press, and asks EasyPress users to add about 30 degrees. If the label differs, the label wins.
Gear for this job
All 7 picks compared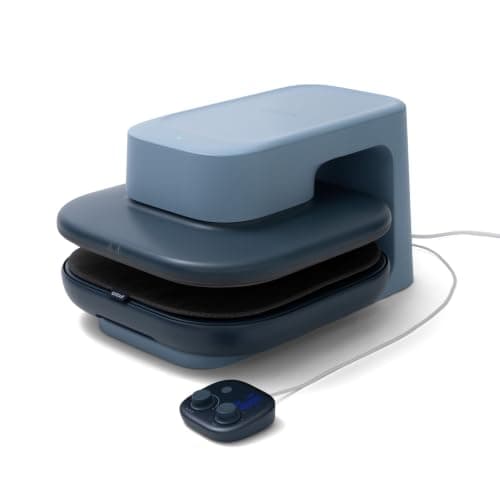
Cricut AutoPress 2: 15x15, 220 lb auto pressure
See price on AmazonSee it on Amazon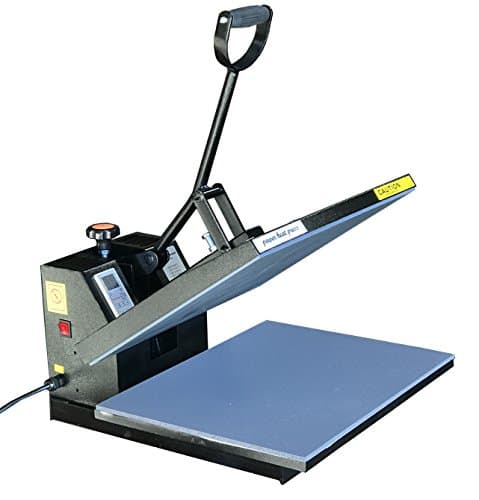
Fancierstudio 16x20 clamshell: larger plate, 1800W
See price on AmazonSee it on Amazon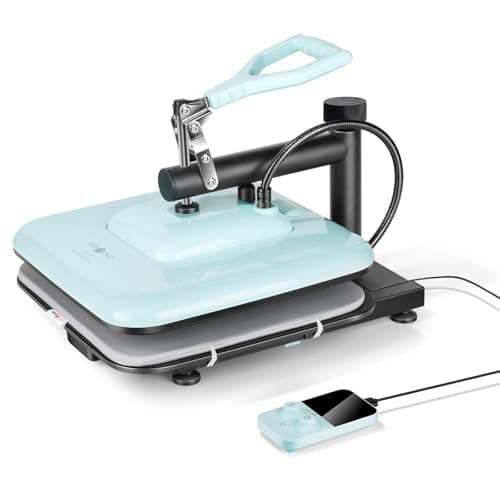
HTVRONT 15x15 swing-away press: 104 to 410°F
See price on AmazonSee it on Amazon
Iron-on fails in two ways: it lifts in the wash because it did not get enough heat, time or pressure, or it scorches and shrinks because it got too much. The fix is not a universal setting but the right setting for that product on that press. This page collects the temperature, time, pressure and peel values from Cricut's Heat Guide and Siser's application instructions for the most common products, explains what each setting does, and shows how to apply them with a handheld EasyPress or a clamshell press.
Heat press settings chart
Siser asks Cricut EasyPress users to add about 30 degrees to its heat press temperatures, because a handheld press transfers heat differently. Cricut's Heat Guide gives separate numbers for each EasyPress model, so pick your exact press in the guide. The heat press settings tool shows these values with the extra notes for each product.
| Product | Press | Temperature | Time | Pressure | Peel |
|---|---|---|---|---|---|
| Siser EasyWeed on cotton, polyester or blends | Heat press | 305 F (150 C) | 10 to 15 s | Medium | Hot or cold |
| Siser Glitter | Heat press | 320 F (160 C) | 15 to 20 s | Medium | Warm, at least 15 s off the press |
| Cricut Everyday Iron-On on 100% cotton | EasyPress 2 | 315 F (155 C) | 30 s | Firm | Cool |
| Cricut Infusible Ink on a Cricut T-shirt blank | EasyPress 2 | 385 F (195 C) | 40 s | Firm | Warm |
| Cricut Infusible Ink on a Cricut T-shirt blank | EasyPress (first model) | 360 F (185 C) | 120 s | Firm | Warm |
What temperature, time, pressure and peel do
Temperature activates the adhesive on the back of the iron-on. Time lets the heat reach through the carrier, the vinyl and into the fabric. Pressure pushes the softened adhesive into the weave, which is why a press with poor pressure gives weak bonds even at the right temperature. Peel tells you when to remove the carrier sheet: hot peel right away, warm peel after a short wait, cool peel once it is cool to the touch.
Peeling at the wrong time is one of the most common faults. A cool peel product peeled hot can lift off with the carrier. If an area lifts, Siser advises covering it and re-pressing for 5 to 10 seconds.
How to press iron-on with a heat press
- 1
Cut the design mirrored, with the iron-on shiny side down on the mat, and weed it.
- 2
Set the press to the product's temperature and wait until it reaches it.
- 3
Pre-press the garment for a few seconds (Siser says 2 to 3 seconds) to remove moisture and wrinkles.
- 4
Place the design shiny carrier side up, and cover it if the instructions say to.
- 5
Press for the listed time at the listed pressure.
- 6
Peel at the listed temperature: hot, warm or cool.
- 7
Wait before washing; Cricut says 24 hours for Everyday Iron-On.
Using a Cricut EasyPress
With an EasyPress, set the temperature and time on the press, preheat the blank (Cricut says 5 seconds for cotton with Everyday Iron-On), then press with firm, even pressure without sliding the press around. Use a firm, flat surface such as an EasyPress mat or a folded towel on a table. An ironing board is too soft and flexes under pressure.
If the design is larger than the plate, press in sections and overlap slightly, except with Infusible Ink. Cricut says to press Infusible Ink once without moving the press, and never in sections. For Infusible Ink shirts, put white cardstock or several layers of butcher paper inside the shirt to stop bleed through, and use only a polyester or coated blank: it does not work on cotton. See what is Infusible Ink for more.
Note.Heat presses and EasyPress plates are hot enough to burn. Keep the press on its safety base, out of reach of children, and unplug it when you finish.
When the iron-on will not stick
For a full walkthrough of applying iron-on, see how to apply iron-on vinyl. Comparing iron-on, sublimation and Infusible Ink? Read HTV vs sublimation vs Infusible Ink.
| Problem | Likely cause | Fix |
|---|---|---|
| Lifts when peeling | Peeled too early or too little time | Re-cover and re-press, then peel at the right temperature |
| Lifts after washing | Too little pressure or heat | Use a firm surface and the full time |
| Shrinks or wrinkles | Too hot or too long | Check the temperature and press model |
| Shiny press marks | Press too hot on synthetic fabric | Use a cover sheet and check the blank's label |
Choosing a press for these settings
Any press that holds a steady temperature and lets you apply even pressure will meet these numbers. A handheld press is easy to store and works for occasional shirts. A clamshell, swing-away or auto-open press holds pressure more evenly and suits batches. Our guides to the best heat presses for T-shirts and best auto-open heat presses compare options, and EasyPress vs clamshell heat press explains the trade-offs.
Frequently asked questions
What temperature should I use for Cricut iron-on? Cricut's Heat Guide lists Everyday Iron-On on 100% cotton with an EasyPress 2 at 315 F for 30 seconds, firm pressure and a cool peel. Other Cricut iron-on types and blanks have their own settings in the guide.
Do I need to raise the temperature with an EasyPress? For Siser products, yes: Siser asks EasyPress users to add about 30 degrees to its heat press values. For Cricut products, use the EasyPress numbers in Cricut's Heat Guide.
Can I use the same settings on polyester? Not always. Polyester can scorch or show press marks at high heat. Siser lists EasyWeed for cotton, polyester and blends at the same setting, but check the label of each product.
Why does the label on my vinyl differ from this chart? Makers update their products and instructions. The label or current instructions for your roll always win.
What you need for this
- See price on AmazonAmazon
Cricut AutoPress 2 15x15: 220 lbs, 410°F, Bluetooth
 See price on AmazonAmazon
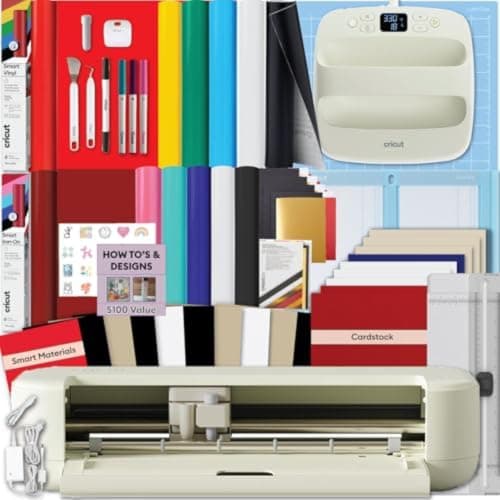
Cricut Explore 5 + EasyPress 9x9: 12 in cutter and press
From Best cutting machines for making T-shirts with iron-on and HTV