How-to
How to cut fabric with a Cricut Maker
Published
Short answer
Install the rotary blade in clamp B, press smooth, wrinkle-free fabric onto a pink FabricGrip mat with the grain parallel to the mat edge, and choose the matching fabric in Design Space. Load the mat, press Go, then peel the fabric pieces off gently. The Maker's rotary blade cuts most cotton, felt and similar fabrics without any backing or stabilizer.
Gear for this job
All 5 picks compared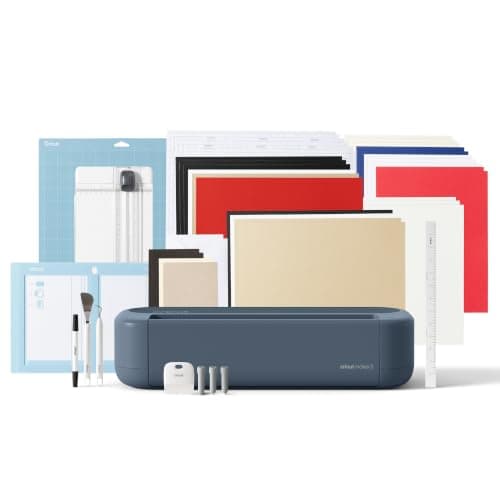
Cricut Maker 5: fabric among 300+ materials
See price on AmazonSee it on Amazon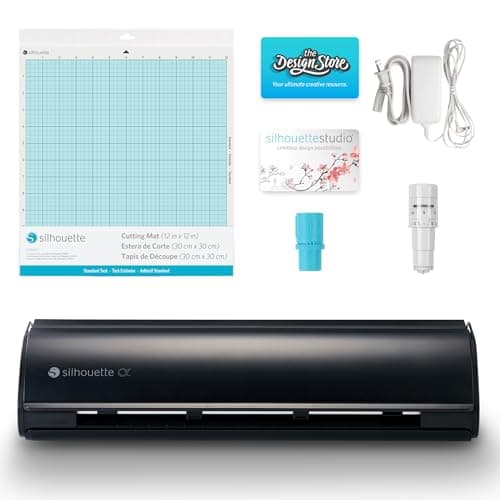
Silhouette Cameo 5 Alpha: fabric up to 3 mm
See price on AmazonSee it on Amazon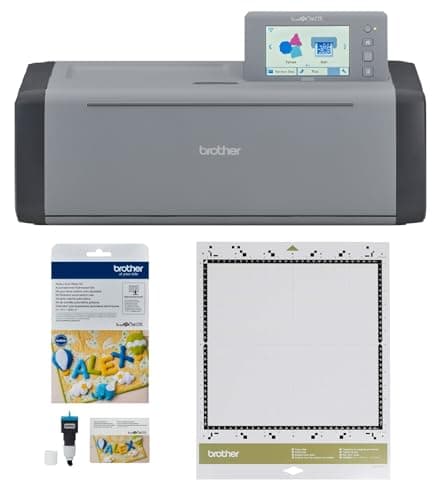
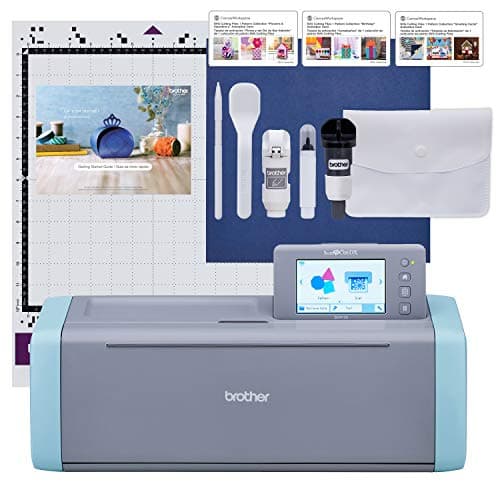
Brother ScanNCut SDX125E with Rotary Blade Kit and fabric mat
See price on AmazonSee it on Amazon
The Cricut Maker family (Maker, Maker 3 and Maker 4) is the Cricut that cuts unbacked fabric, thanks to the rotary blade in the Adaptive Tool System. This guide is for quilters, sewists and crafters who want accurate pieces for appliqué, quilt blocks, felt projects and sewing patterns. It covers which blade and mat to use, how to prepare fabric, how to place it on the grain, the cutting and unloading steps, and the mistakes that cause snags and uncut threads. If you own an Explore, see the section on backed fabric below, and our page on cutting felt with a Cricut Explore.
What you need
- A Cricut Maker, Maker 3 or Maker 4
- The rotary blade with its drive housing, which comes with the Maker
- A FabricGrip (pink) mat, 12 x 12 in or 12 x 24 in for long pieces
- Fabric that has been pressed flat
- Optional: the washable fabric pen for marking seam allowances and pattern notes
- Optional: a brayer to press fabric firmly onto the mat
Step 1: prepare the fabric
Pre-wash the fabric if you would normally pre-wash it for the finished project, so the pieces do not shrink after cutting. Dry it and press it flat with an iron. Wrinkles and folds are the main cause of uneven cuts, because the rotary blade cuts what is under it, including a crease.
Trim the fabric so it fits inside the mat's grid area. Fabric that hangs over the edges can catch on the rollers or drag on the table behind the machine. Remove loose threads along the edges too, since they can wrap around the blade.
Step 2: place the fabric on the grain
Lay the fabric on the pink mat so the straight grain (the direction parallel to the selvage) runs parallel to the left edge of the mat. Design Space lays pieces out in the mat preview as if the grain runs vertically, so matching the grain to the mat edge keeps every piece on grain. If a pattern piece has a grain line printed on it, rotate it in the mat preview to match.
Smooth the fabric from the center out with your hand or a brayer. It should sit flat with no bubbles. A new FabricGrip mat is very sticky; if it is too sticky for a delicate fabric, press the mat onto a clean cotton cloth once to take off a little tack.
Note.Do not put paper or vinyl on a FabricGrip mat, and do not use the scraper on it. Paper fibers and scraping both reduce its grip for fabric.
Step 3: set up the cut in Design Space
- 1
Design or open your pattern. For sewing patterns, Cricut's ready-to-make patterns include seam allowances. For your own shapes, add the seam allowance to the design before cutting.
- 2
On the Prepare screen, choose the mat size and check that every piece fits. Rotate pieces to match the grain if needed.
- 3
On the Make screen, choose the fabric that matches yours, for example Cotton, Felt or Fleece. Design Space then asks for the rotary blade.
- 4
If the design has drawing lines for the washable fabric pen, insert the pen in clamp A when prompted.
Step 4: install the rotary blade and cut
Open clamp B, remove the fine point blade and place the rotary blade drive housing in the clamp so the gear on top meshes with the gear on the carriage. Close the clamp. Load the mat with the load button and press Go. The rotary blade rolls through the fabric like a rotary cutter, so no backer or stabilizer is needed for most fabrics.
Watch the first few cuts. If threads stay attached at corners, check that the fabric is pressed onto the mat firmly and that the blade has no lint wrapped around it.
Step 5: unload and remove the pieces
Unload the mat. Peel away the excess fabric around the pieces first, then lift each piece slowly. For small shapes, use tweezers rather than pulling with your nails. Some crafters flip the mat and bend it away from the fabric, which helps with thin fabric that wants to stretch.
Pick lint and threads off the mat with tweezers or a lint roller after each project. Put the clear cover back on when you finish so the mat stays clean.
Fabrics that cut well and those that do not
Fabric size on the Maker is limited by the mat. Pieces wider than 12 inches or longer than the mat need to be split or cut by hand.
| Fabric | How it cuts | Tips |
|---|---|---|
| Quilting cotton | Cleanly | Press flat; keep the grain parallel to the mat edge |
| Craft and wool felt | Cleanly | Use the felt setting; thick felt may need More pressure |
| Fleece and flannel | Usually well | Brayer it down well; loose fibers can drag |
| Denim and canvas | Usually well | Pick the denim or canvas setting and check the first cut |
| Knits and jersey | Can stretch | Handle gently on and off the mat |
| Very loose weaves, sheer fabrics | Often fray or shift | Add a fusible backer or cut by hand |
If you have a Cricut Explore
The Explore family has no rotary blade, so it cannot cut unbacked fabric cleanly. To cut fabric on an Explore, fuse an iron-on backer such as HeatnBond to the fabric first, then cut it with the bonded fabric blade on a pink FabricGrip mat. This works for appliqué shapes but is not practical for sewing pattern pieces.
If fabric is your main reason for buying a cutter, see our guide to the best cutting machines for fabric, and the Cricut Maker vs Explore comparison. The Brother ScanNCut line is another option many quilters consider.
Frequently asked questions
Which Cricut blade cuts fabric? On a Maker, the rotary blade cuts unbacked fabric. The bonded fabric blade cuts fabric that has a backer fused to it, and works on both Explore and Maker machines.
Do I need stabilizer to cut fabric on a Cricut Maker? No for most fabrics. The rotary blade cuts cotton, felt, fleece and denim without backing. Very loose or sheer fabrics may cut more cleanly with a fusible backer.
Can beginners cut sewing patterns on a Cricut Maker? Yes. Cricut's sewing patterns in Design Space include seam allowances and pen markings, and the Maker cuts the pieces. Start with simple projects such as zipper pouches or quilt blocks.
Why does my Maker leave threads uncut? The fabric is not stuck firmly, the mat has lost grip, or the rotary blade is dull or wrapped in lint. Press the fabric down with a brayer, clean the mat, and replace the blade if the problem continues.
What you need for this
- See price on AmazonAmazon
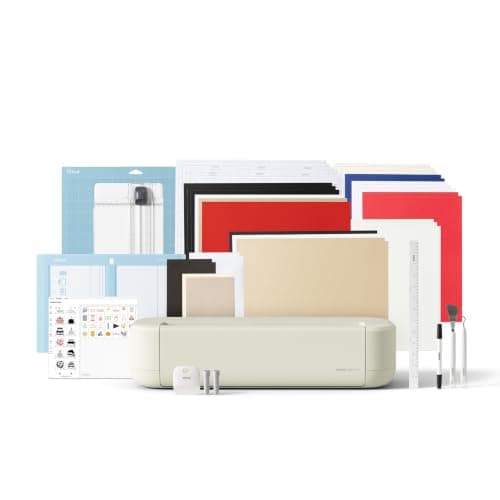
Cricut Maker 5 Essential Bundle with Scoring Tool
 See price on AmazonAmazon
Cricut Explore 5: scores and writes, 12 in width
From Best Cricut machines, from Joy 2 and Joy Xtra to Maker 5
 See price on AmazonAmazon
Brother ScanNCut SDX125E: built-in scanner, 3 mm cutting